Kyle Schumacher
Welcome to my work! I like to make anything that seems both cool or futuristic!
“Any sufficiently advanced technology is indistinguishable from magic” -Arthur C. Clarke

First Rocket Engine
This year, I had the privilege to work alongside some talented engineers at CalPoly to develop the first liquid rocket engine that a club at our school had ever produced. The idea had started just one year ago amongst a couple of us, but it quickly gained interest and traction among students, allowing us to…

CalPoly FSAE 2022 Car
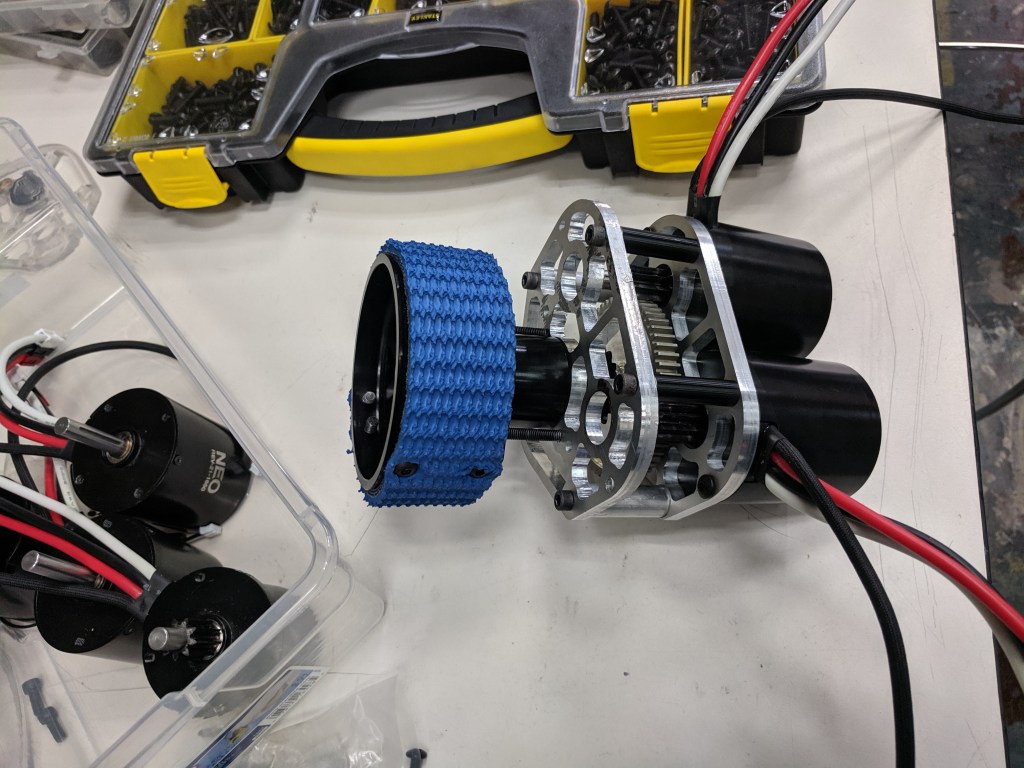
Over the past year, I’ve been able to work on the CalPoly FSAE combustion and electric vehicles for 2022. My main role on the team was on battery systems and drivetrain, two subsystems that tie heavily into each other. One area that was new to me was creating individual battery packs. Each pack has a…
PCB Design Project
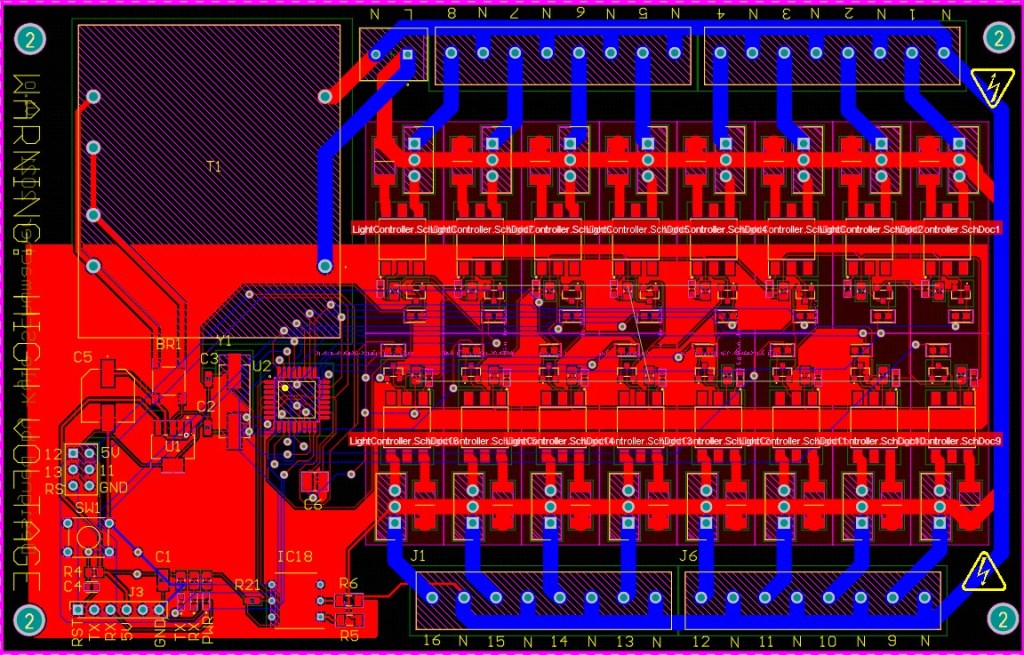
Christmas Light Show PCB
2021
After a successful first show last year, I decided to take it to the next level and design my own PCB! There are 16 individually addressable channels to dim with easy expansion for more. Everything is controlled using an Atmega238p connected to a Raspberry Pi Zero W. There is only 1 power input for 120 AC, so there is a series of transformers and IC’s to bring that to a stable 5V for signal. Each TRIAC is opti isolated to confirm that high power is always separate from logic level power.
Youtube
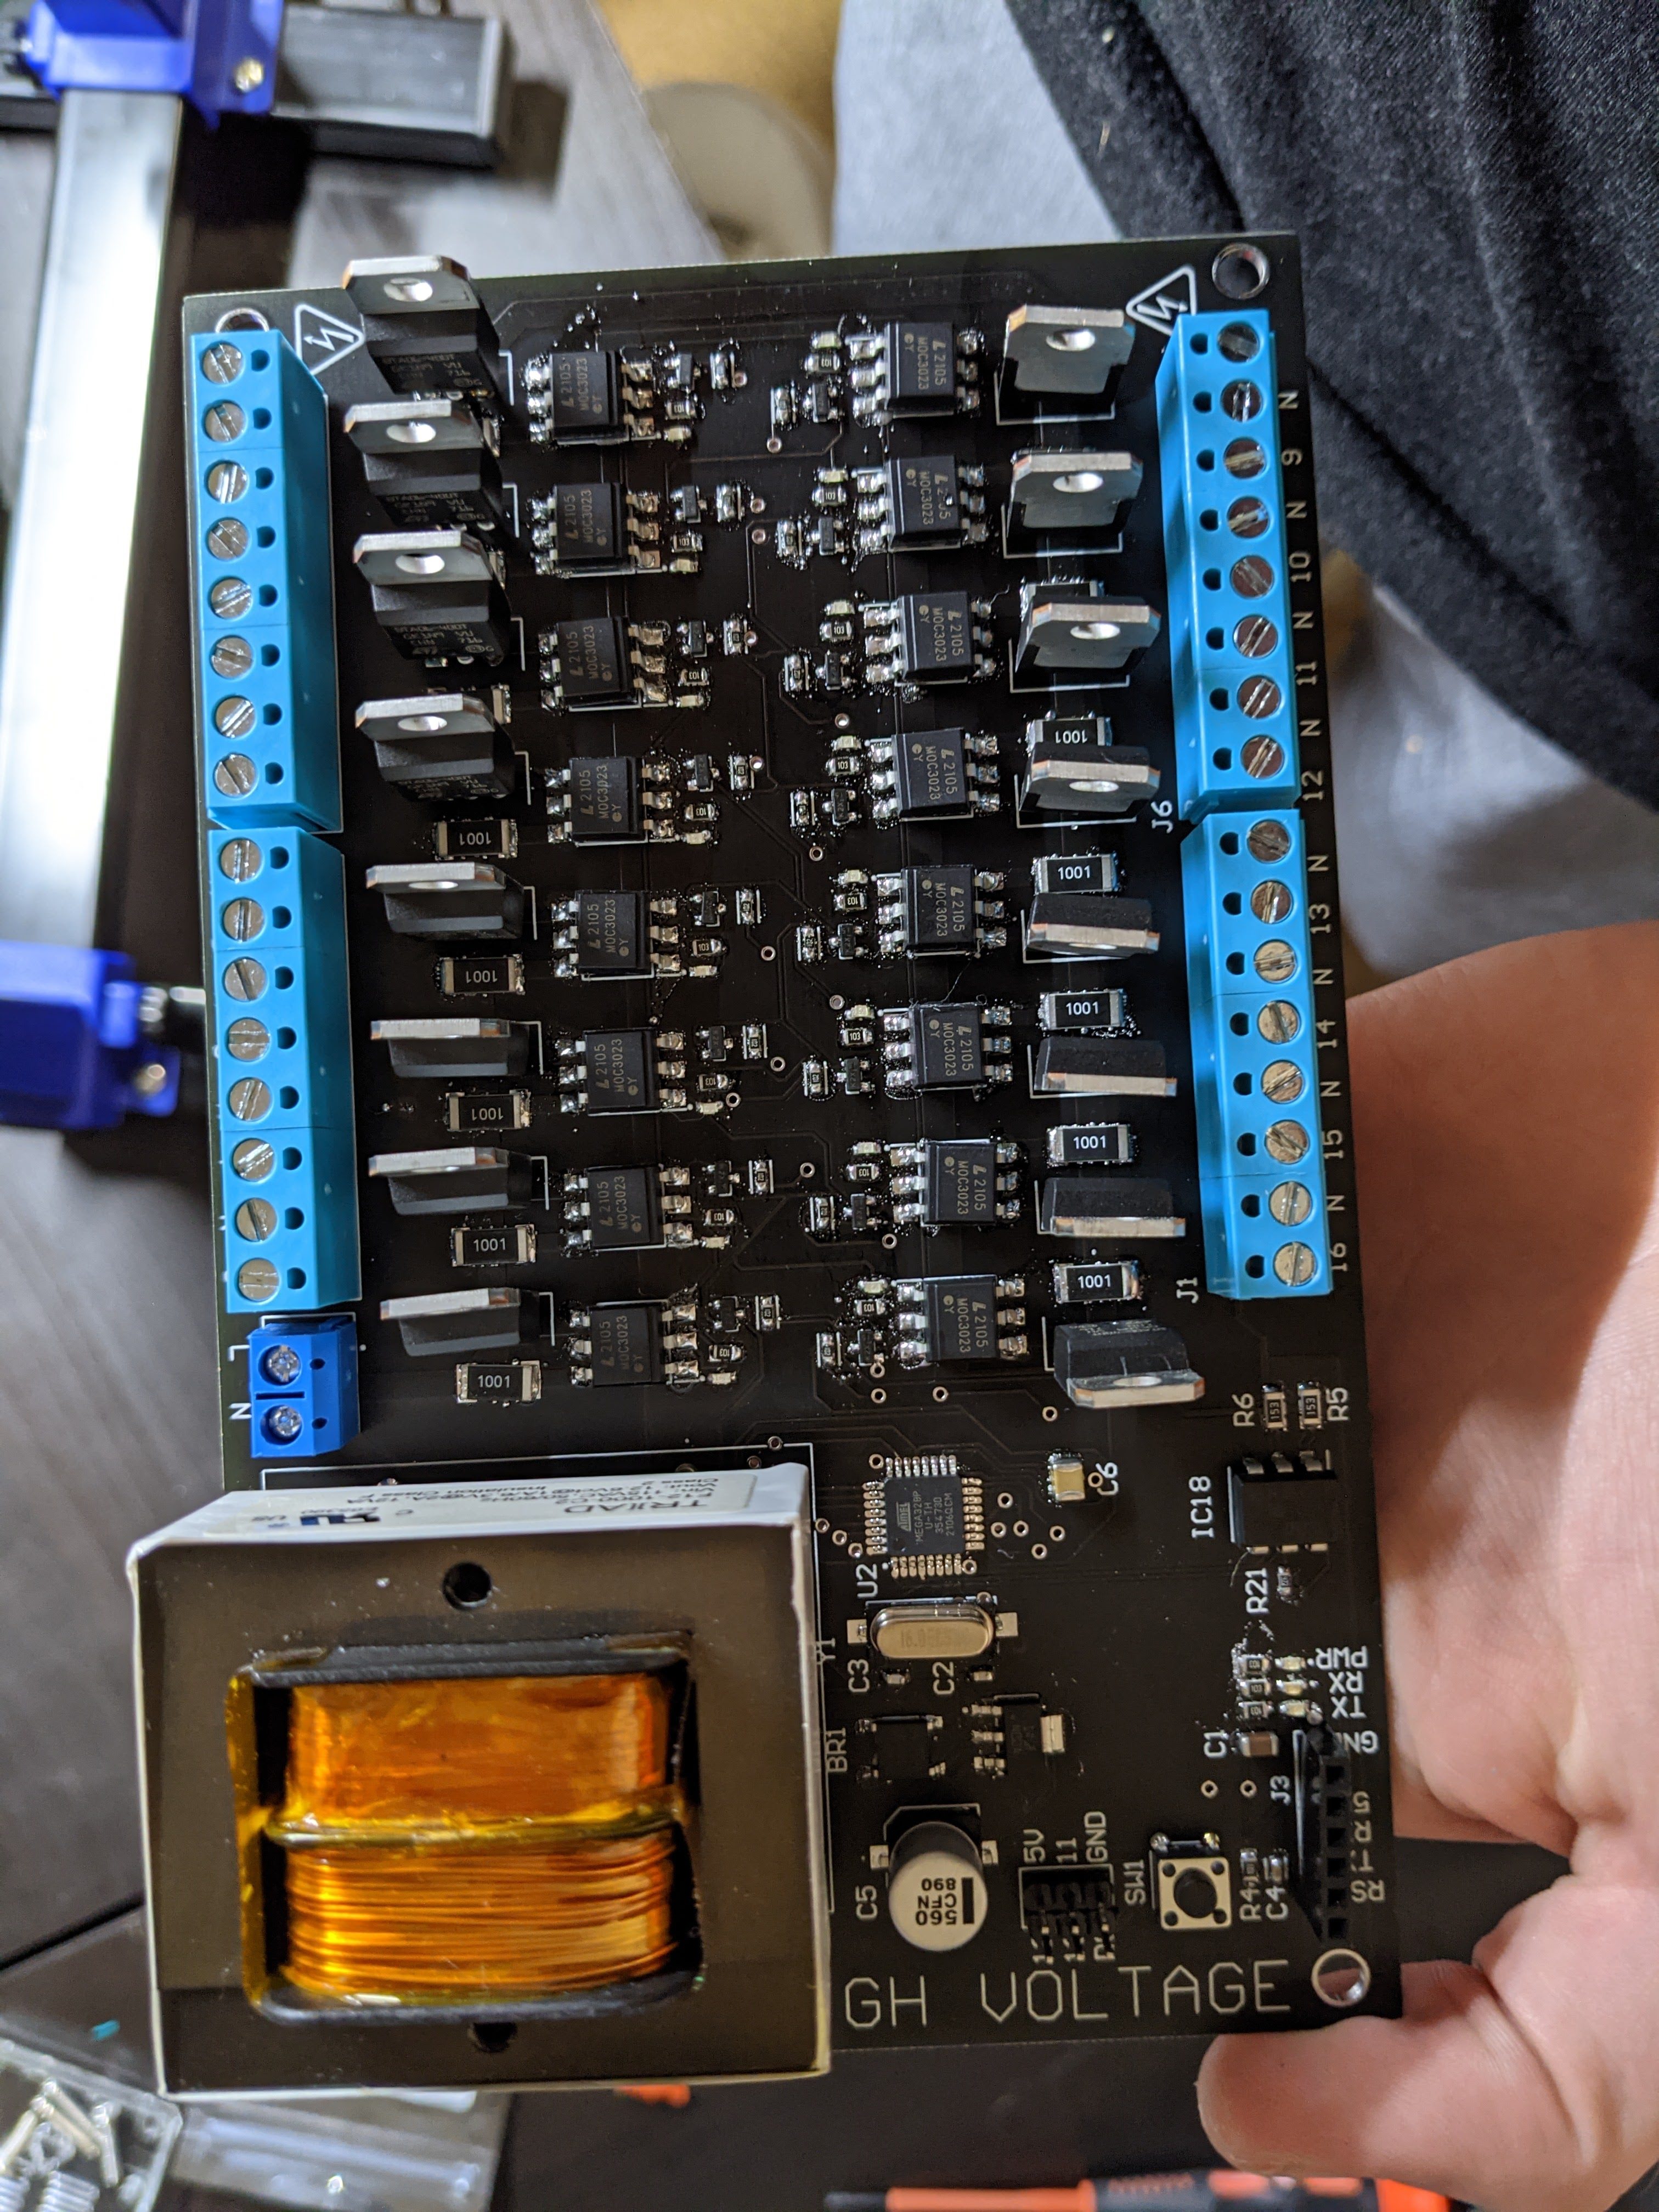
This was my first major project using Altium. It was to learn about this specific PCB designing software compared with other programs that I have used, such as EasyEDA.
Custom Design Work
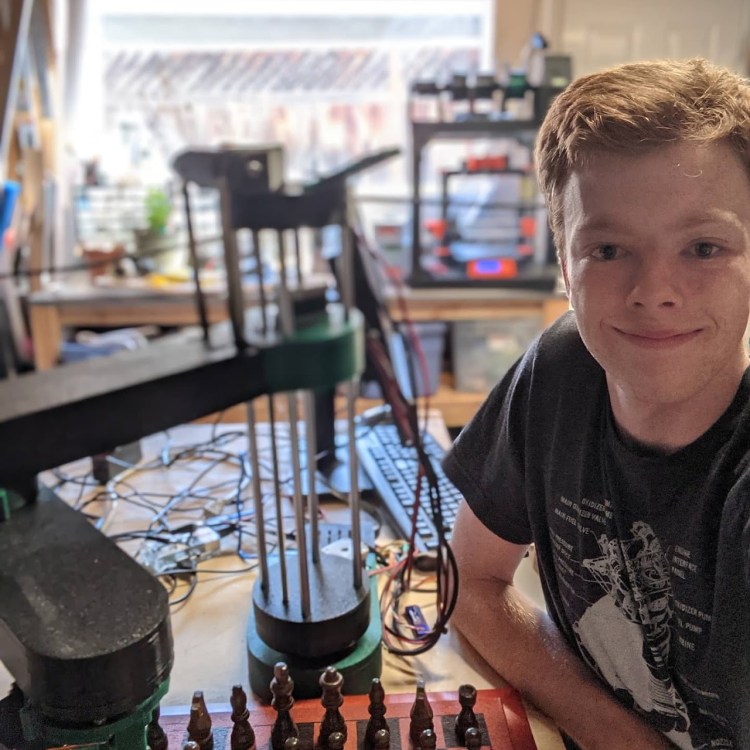
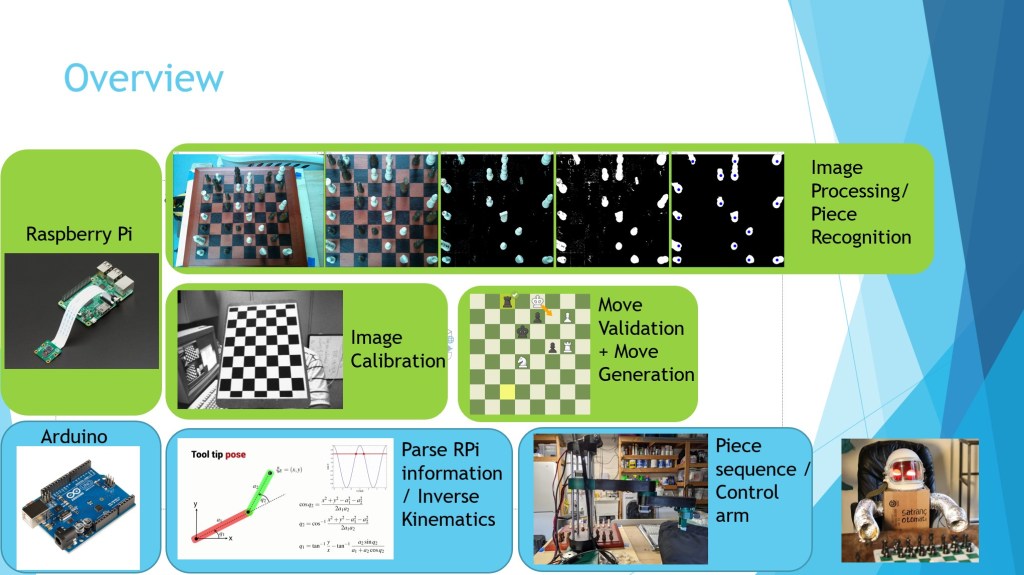
Automated Chess Playing Robot
2021
During the middle of quarantine, I decided to challenge myself and make a robot that plays chess. Up until this point I did not even know how to play chess, so I learned that, in addition to using Raspberry Pi’s, Python and OpenCV for this project. It was a lot of effort to design and integrate every part of the robot (Robot CAD, >60hrs 3D printing, Assembling, Piece Recognition Software, Chess Algorithm, Motion Control, etc). I am more proud of this project as it was one of my most complicated builds to date and I did it completely independently.
Github, Youtube
There are many different steps that are taken before a move is successful completed. There is a camera that “sees” the board, transforms it, performs HSV filtering, and more to find pieces. Then it calculates a move, gives it to the arduino, and a move is completed.
CAD Design Project
Spring Cadathon
2020
After a cancelled season of FRC, four of us decided to join a Cadathon challenge to create the most functional and detailed robot in CAD within just a couple of days. We ended up placing 4th out of >100 participants. Overall this was a lot of fun and pushed us to CAD with performance in mind as we kept adding more detail. The main cad was completed in Onshape and the renders in Keyshot.

For reference, this image was from my first cadathon, one that took place less than four months before. I believe that I was able to drastically improve my abilities to cad both quickly and well over that time period. I also got better at rendering and even got Keyshot to sponsor a free license for future renders 🙂
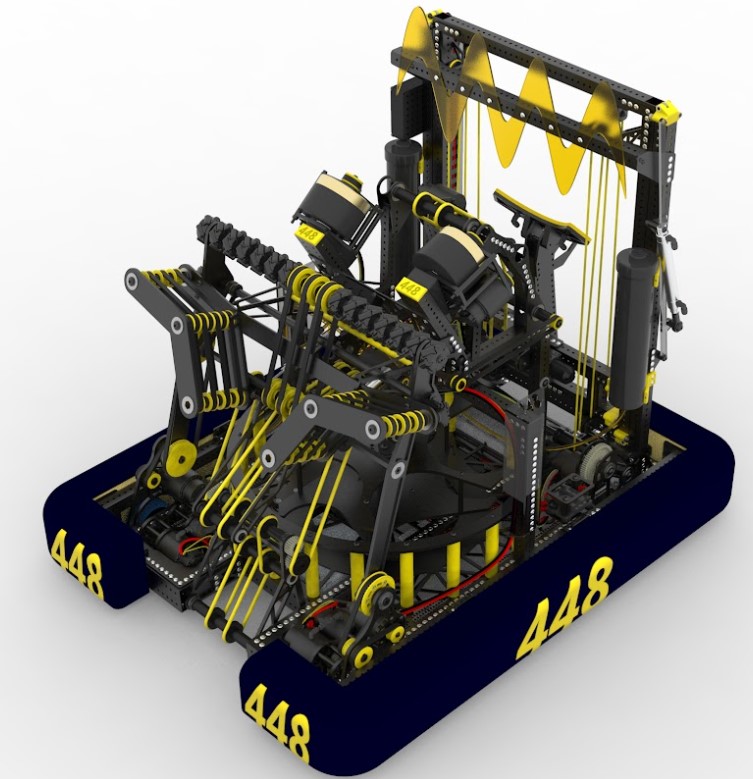
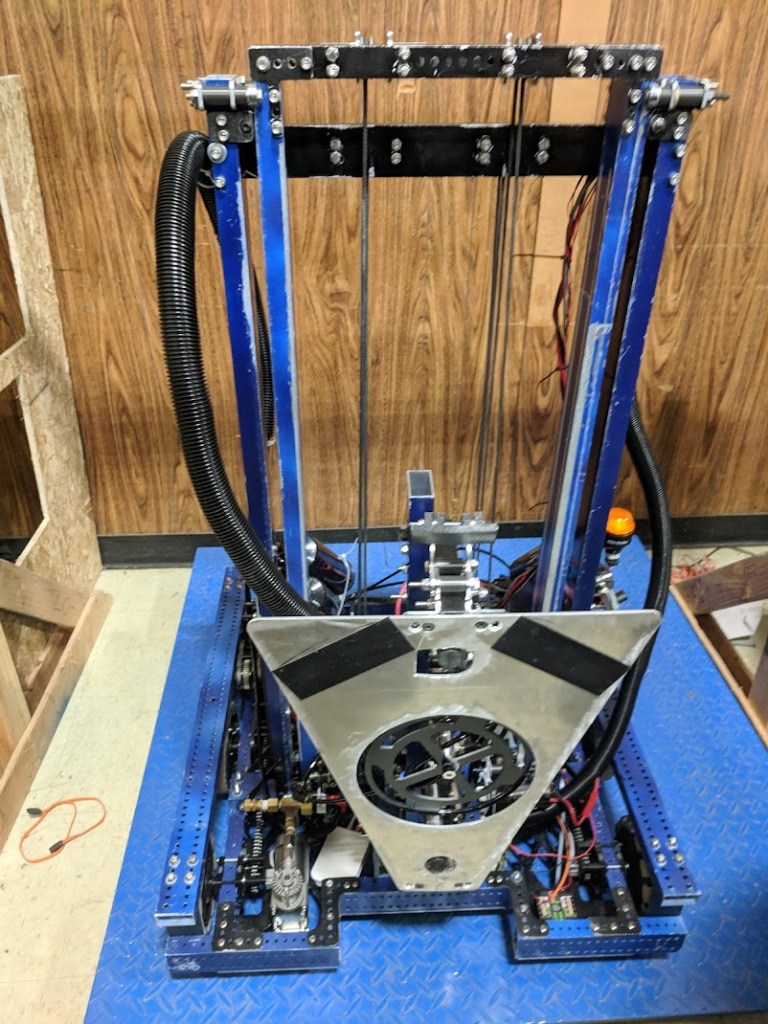
FRC Robotics
“Doom Turtle”
2020
During my junior year of high school I had the privilege to work on the best robot that our team has ever created. My main roles included: Design robot, design reviews, manufacture robot, wire robot, lead team, assemble robot, work with sponsors to fabricate some custom parts, test robot, and drive robot. Some interesting things on the robot are: adjustable hood shooter, pneumatically actuated ratcheting climber, 2x steel flywheels on shooter for additional rotational inertia, and so much more!
Youtube
This picture was taken on the end of week 5 of receiving the challenge. It was a relief to finish the robot with so much extra time to spend iterating on mechanismsms
FRC Robotics
“Bigweld”
2019
The was an off-season robot that we made for the FRC 2019 game, “Deep Space.” This was the first robot that I got to use our CNC router on to make, and used Onshape for the first time to design. We got to try out a bunch of new methods of building robots with this off-season robot, and were able to finish the Design->Build->Test in only 3 weeks! We also fit everything in a frame size of 24″ x 24″ in order to learn to build things small and light
Youtube
Manifacturing
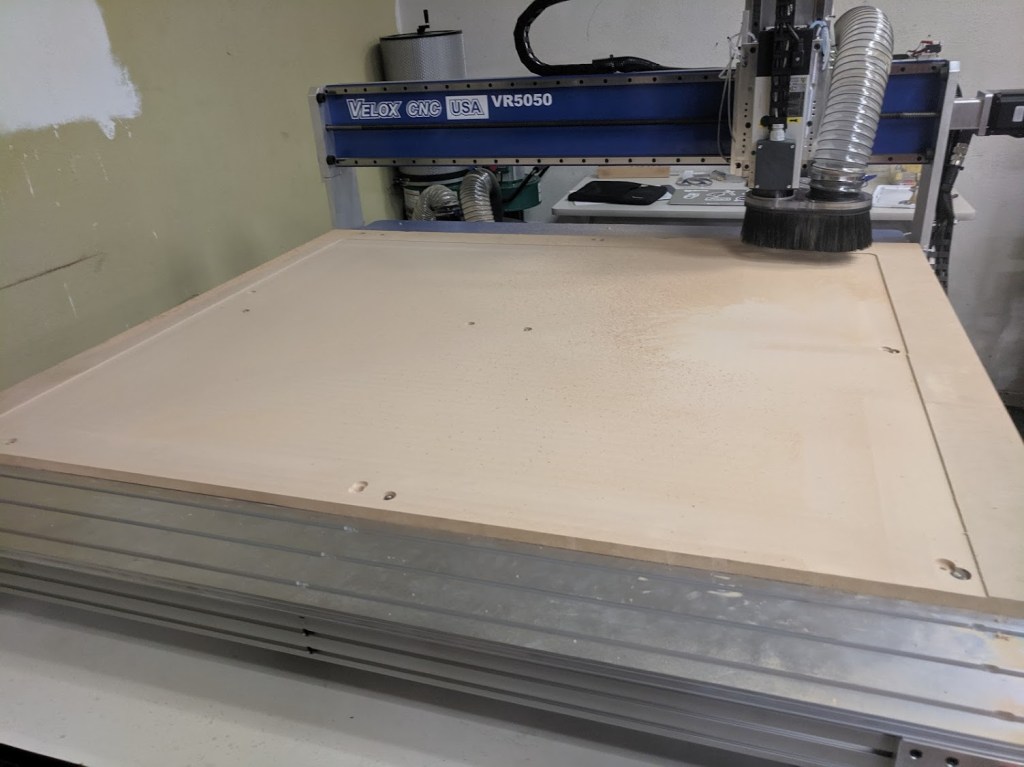
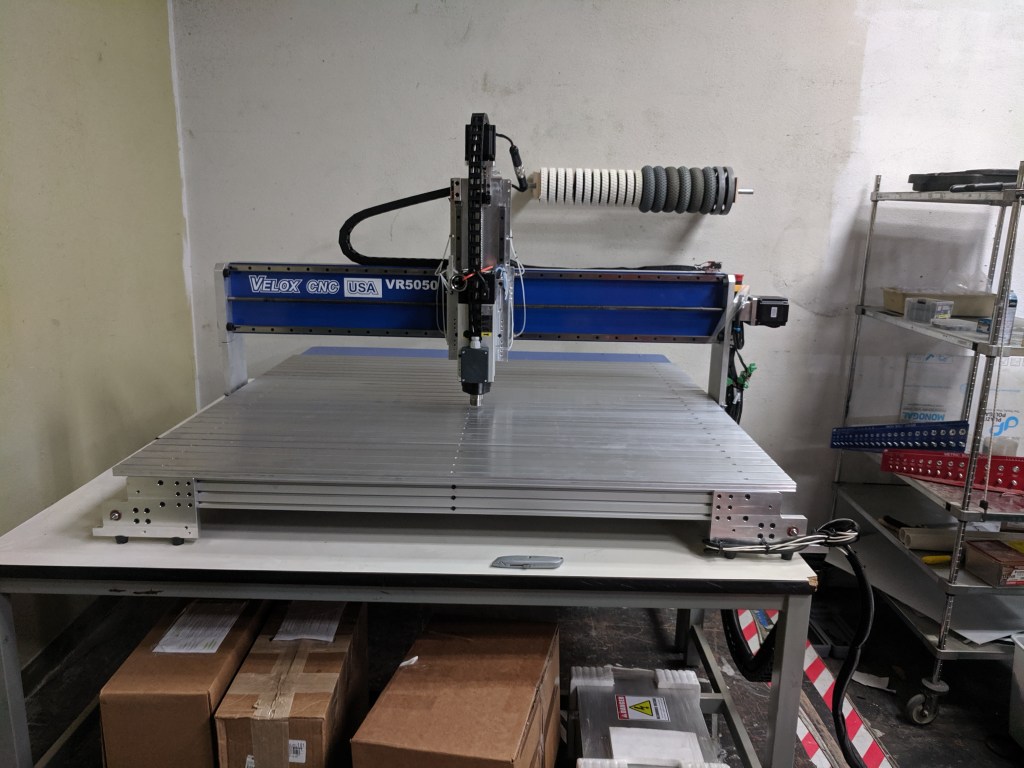
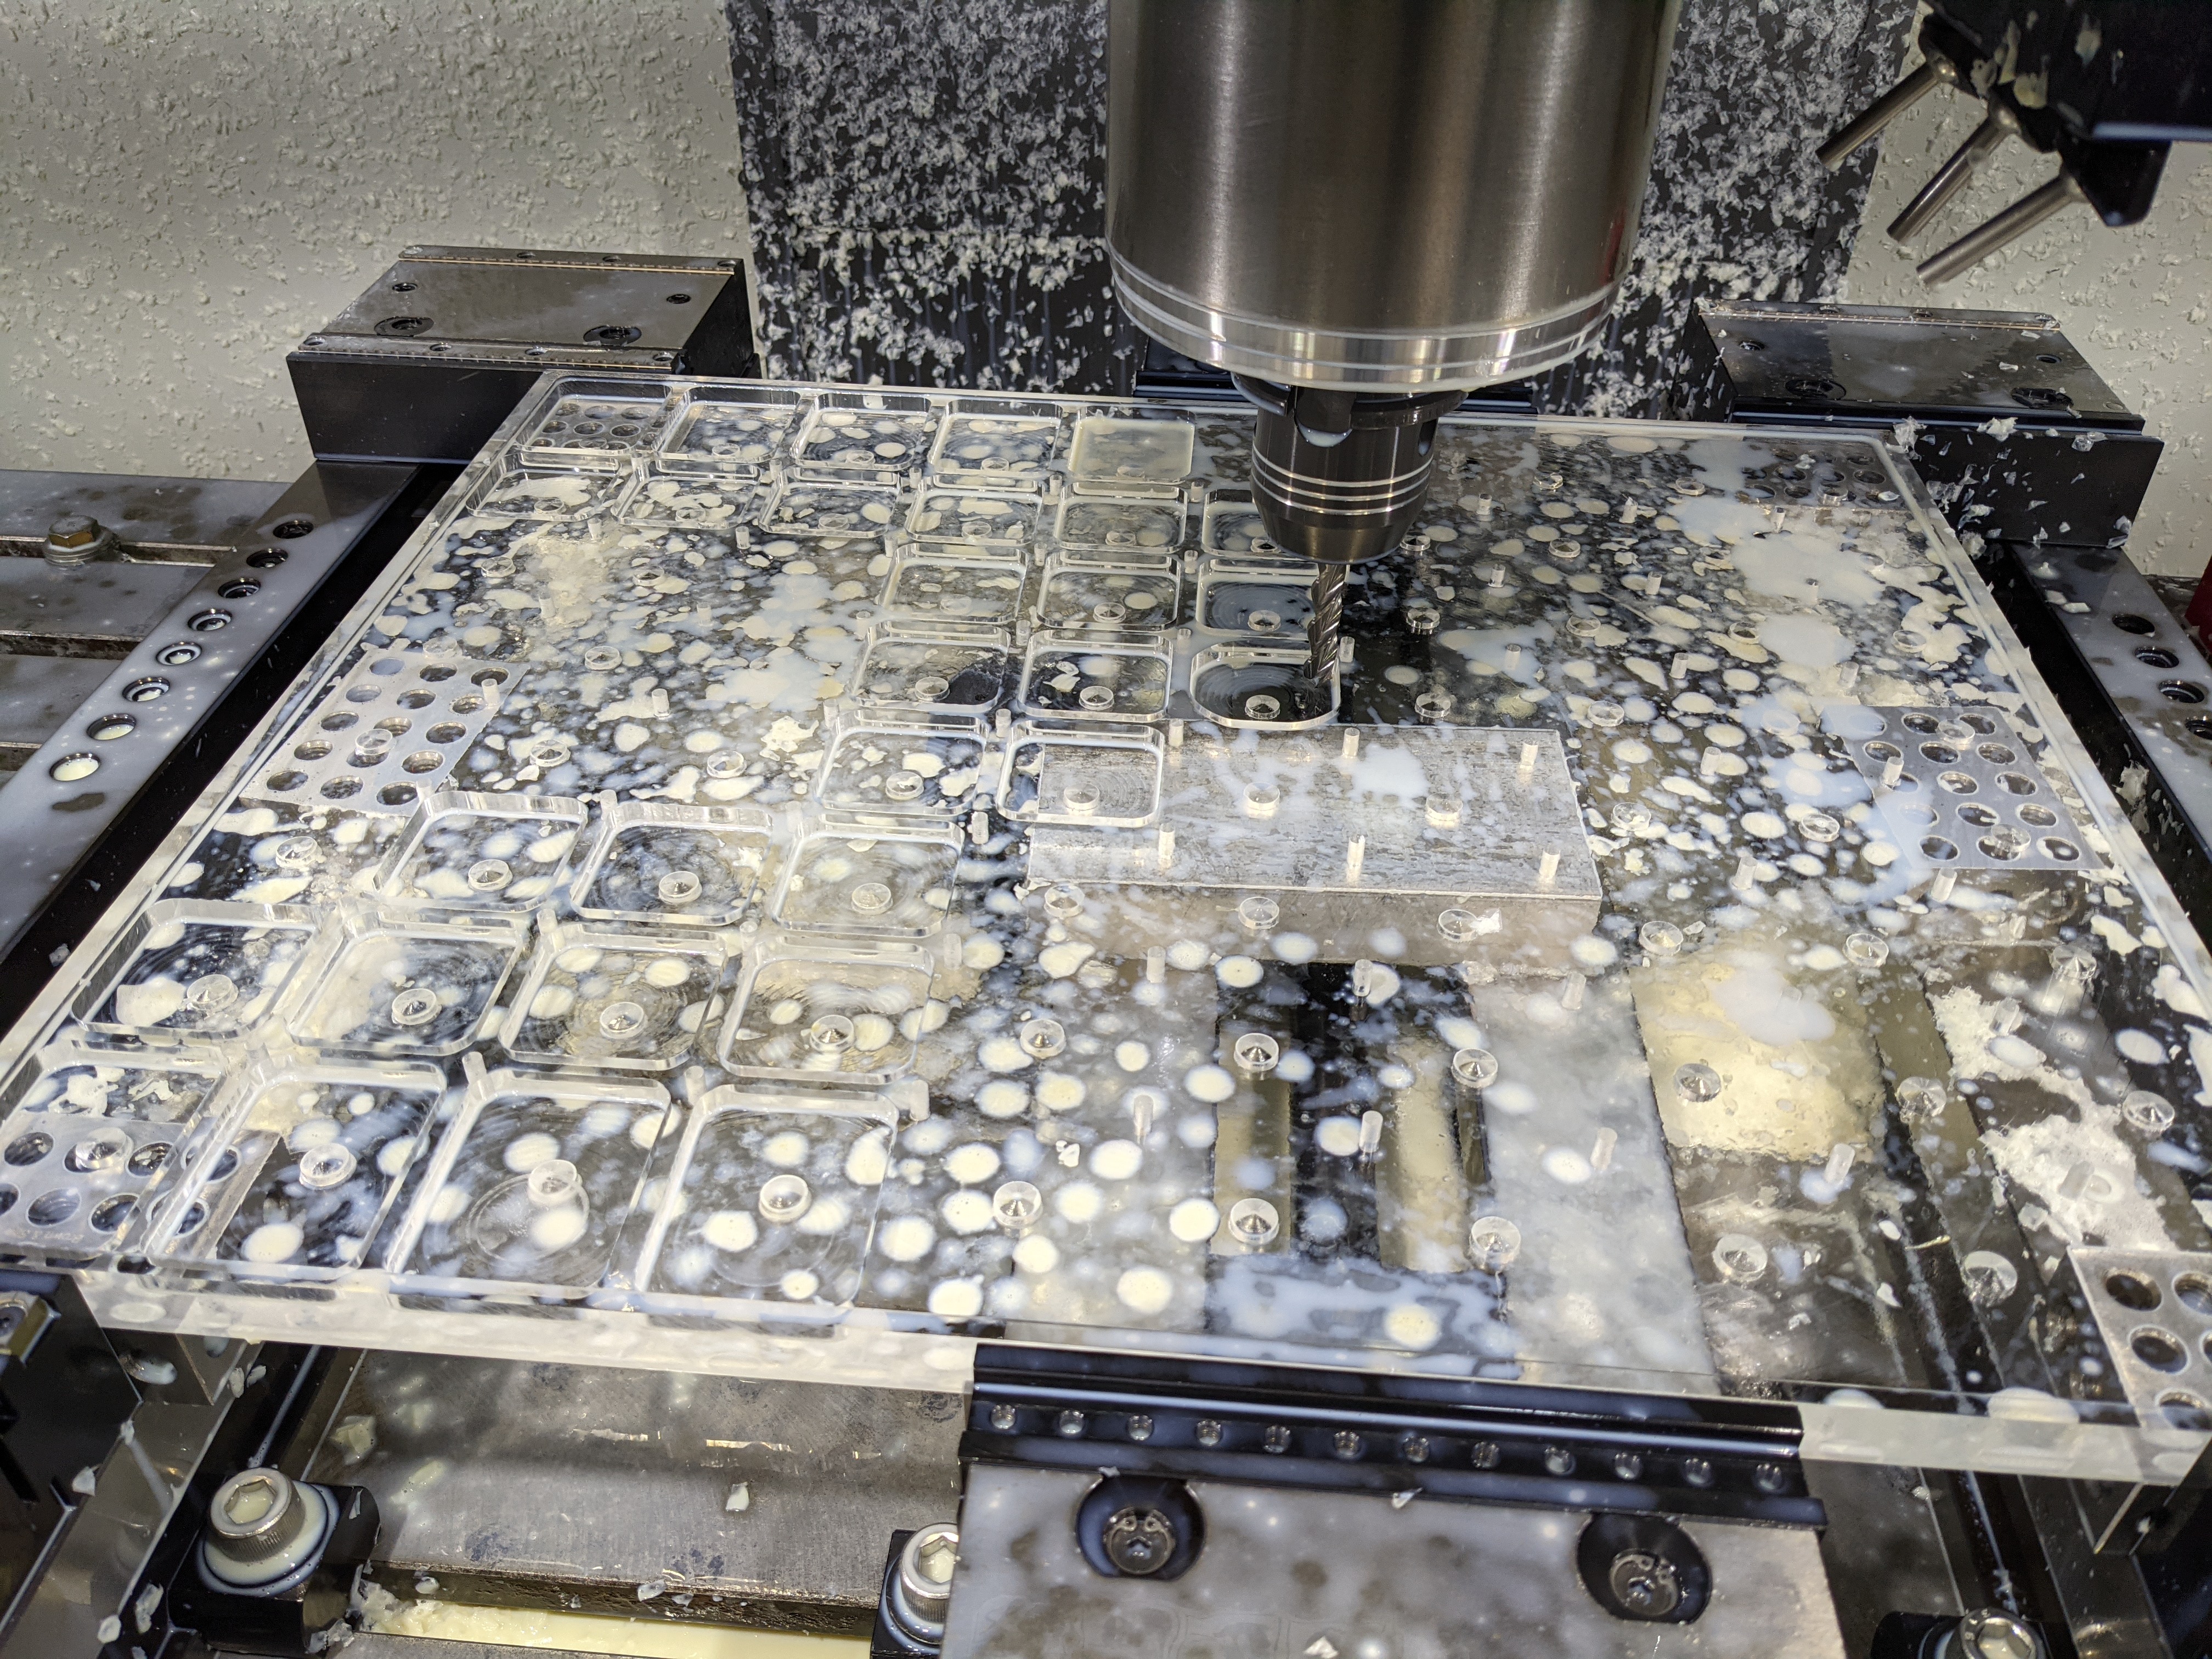
Velox CNC Router
2019
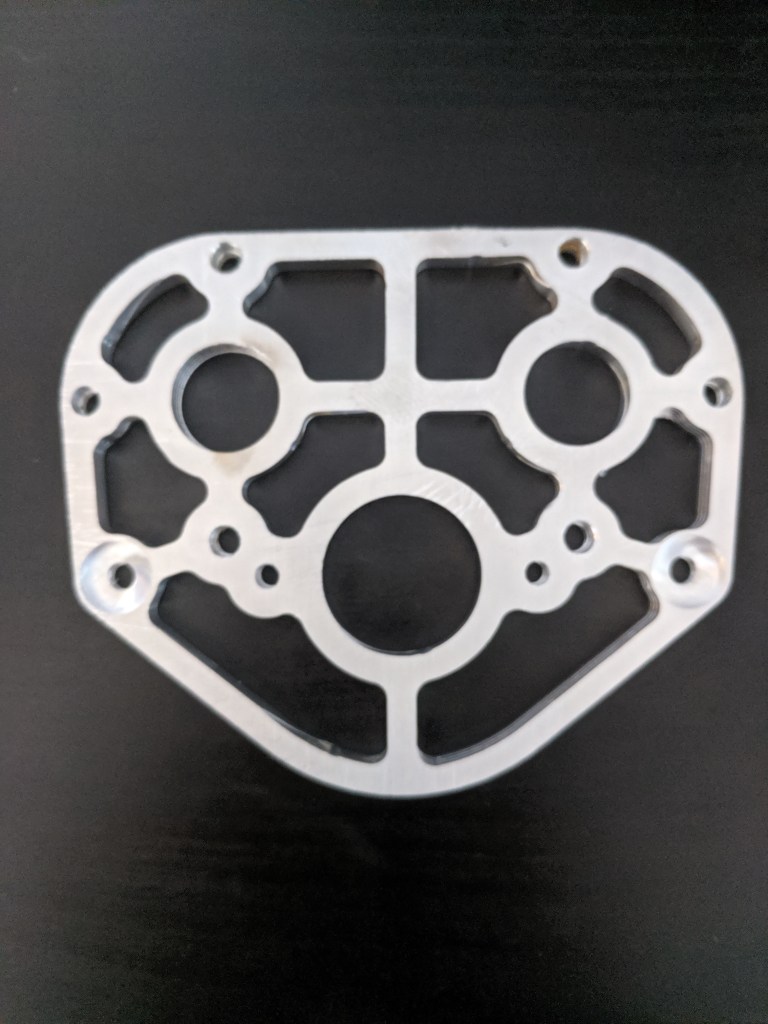
After seasons of relying completely on manual milling or sponsors to finish our parts, I decided to do the research and get our team a CNC router. I eventually decided on the Velox5050 router as it was large enough to machine our game pieces (4′ x 4′) and it could also cut aluminum with ease. Before getting the machine I had never used any CNC’s before, so it was a learning process to make quality parts
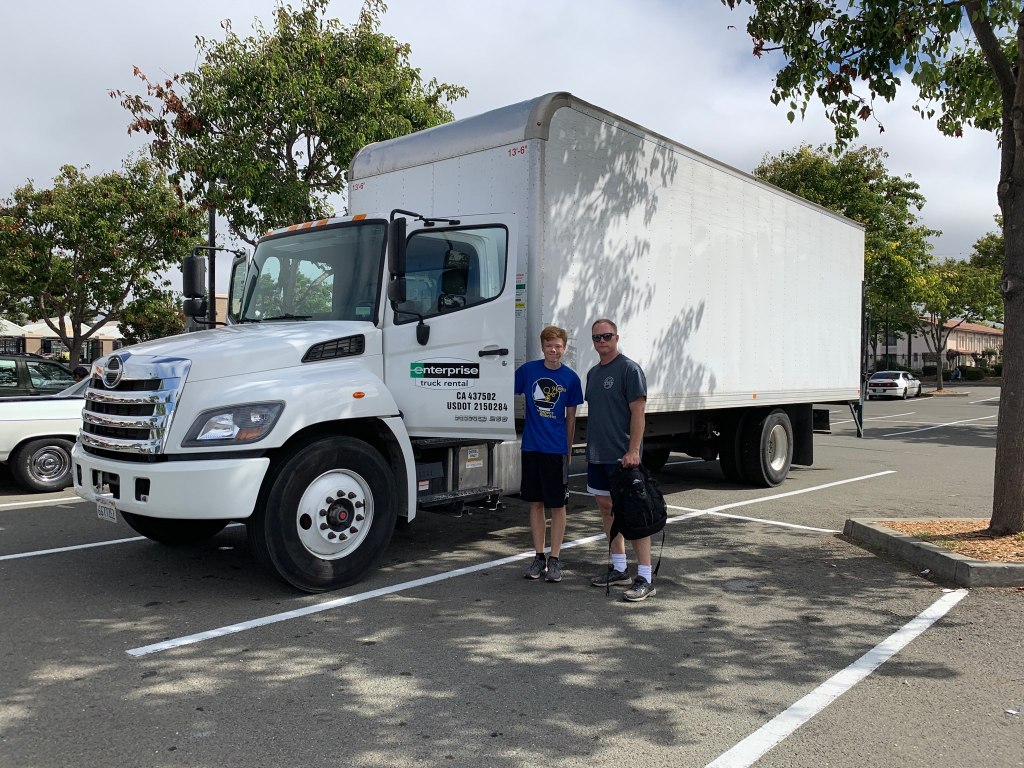

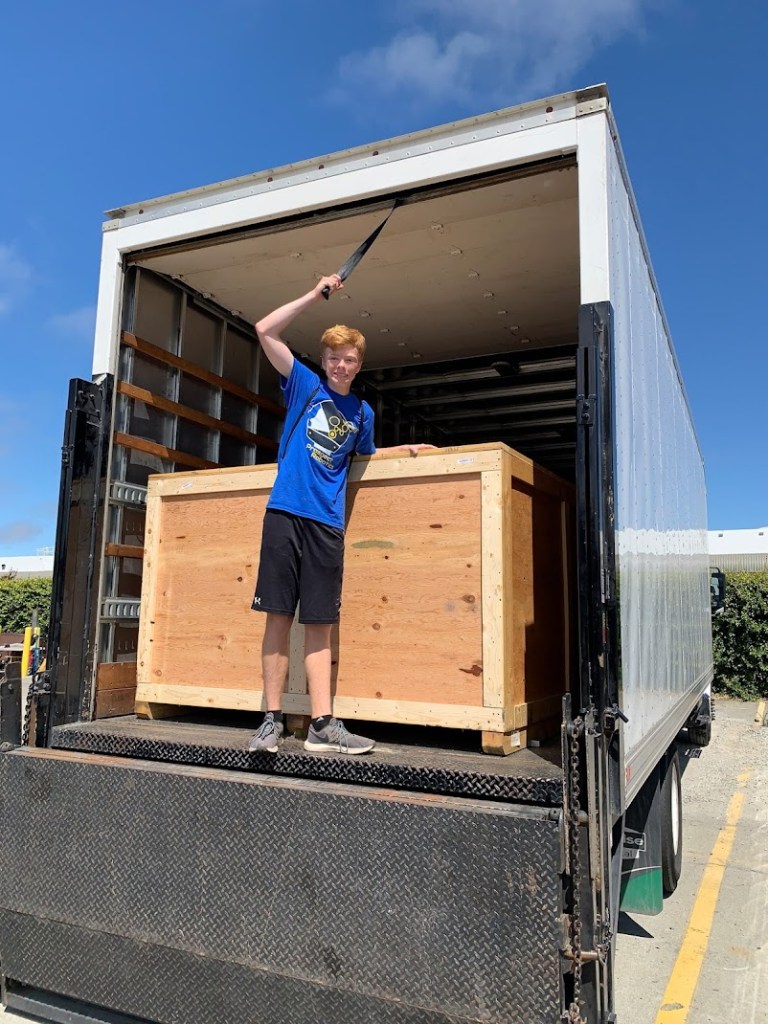
In order to pick up the CNC we got to rent a 20′ box truck with a liftgate! It was a fun process to get the >500lbs CNC in the crate from the shipping center to our lab without a forklift. There was also a fun set of stairs that we had to lift the CNC up to get it into its final resting place in the lab
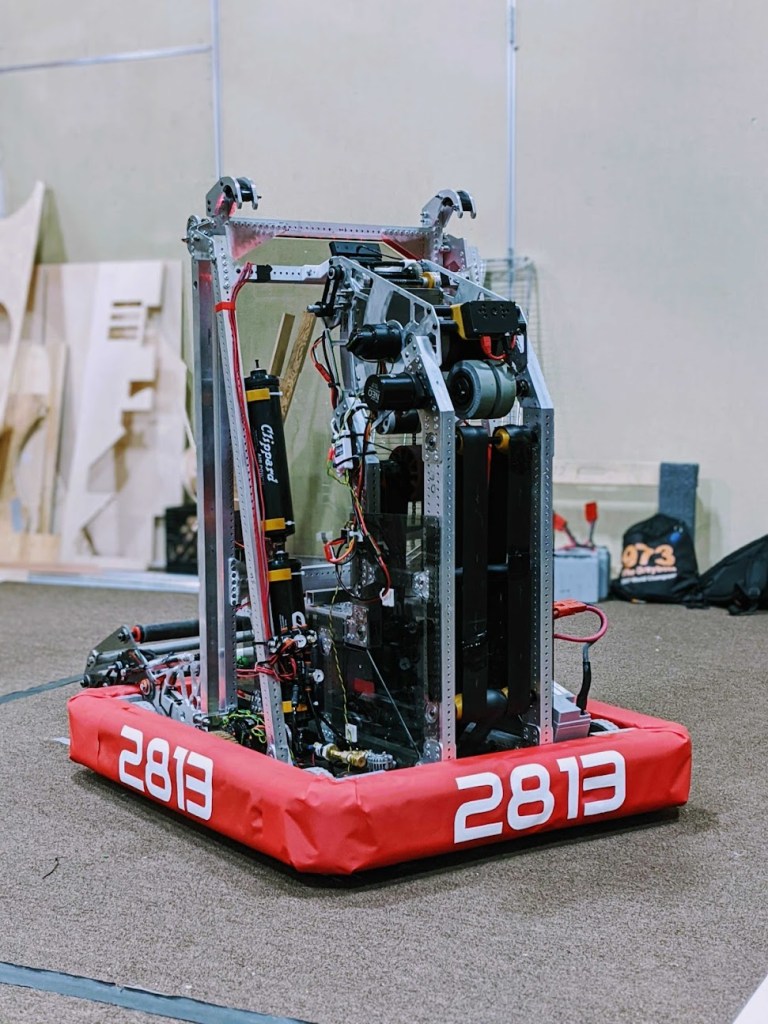
FRC Robotics
“Blue Shift”
2019
This was the first robot that I got to design completely. While competitively this robot was not nearly as good as some of the future robots, because I was able to contribute so much I also learned a whole lot more, mostly about how not to do things :p. I am quite proud that we got a full functioning climber working in-between events given that our initial robot did not even have a climber in mind.
Youtube
The entire climber mechanism that I designed was extremely condensed and functional independent of the robot, which was important as we had to bolt it on quickly at our competition.
Custom Design Project
Custom Weather Station
2018
This was my first major project using Arduinos. I connected 5x WeMos D1 Mini Pros as temperature/humidity/barometric pressure sensor nodes around the house and outside. The nodes would send updates over MQTT to a server running on a raspberry pi. The hub would then display information onto a touch LCD display that could be interacted with to show specific sensor updates from each unique node. For a “fun” feature, the arduino would email what to wear when biking if it was cold so that you wouldn’t even have to think about that! The outdoor units were equipped with a solar panel that went to a BMS and an 18650 battery. This was so that I wouldn’t have to find anywhere to plug the units in and they could act independently.
Github

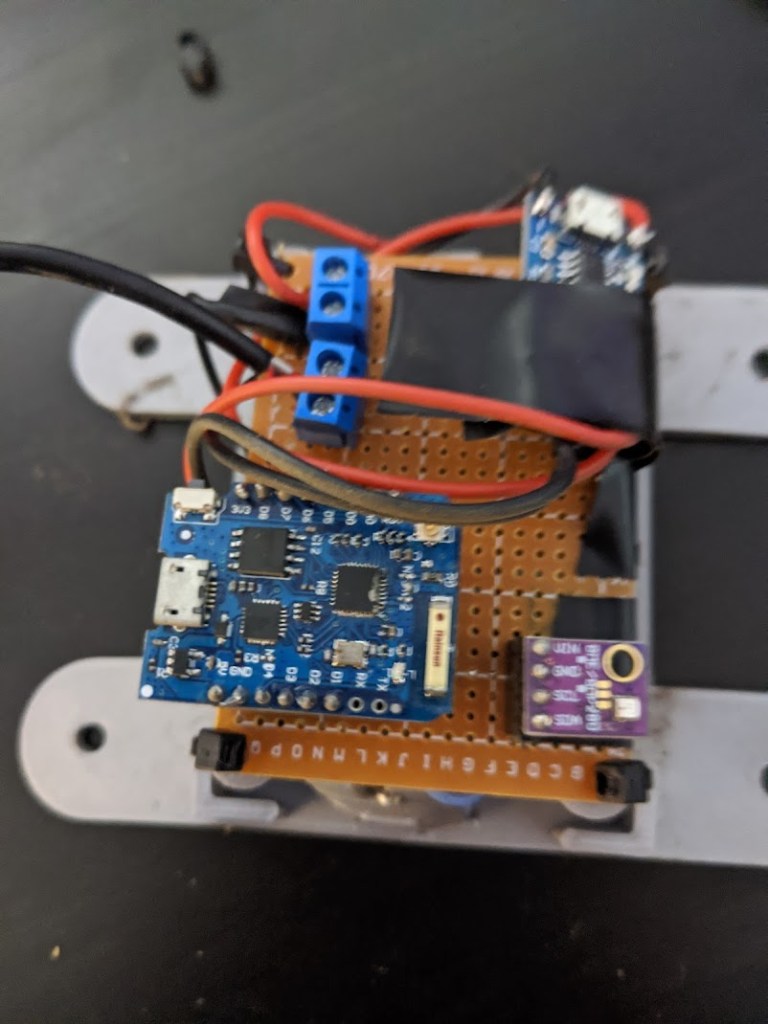
One of the messy insides of a board. Another printed piece would go on-top of this to protect against water ingress while still giving some airflow (just used a torturous path)
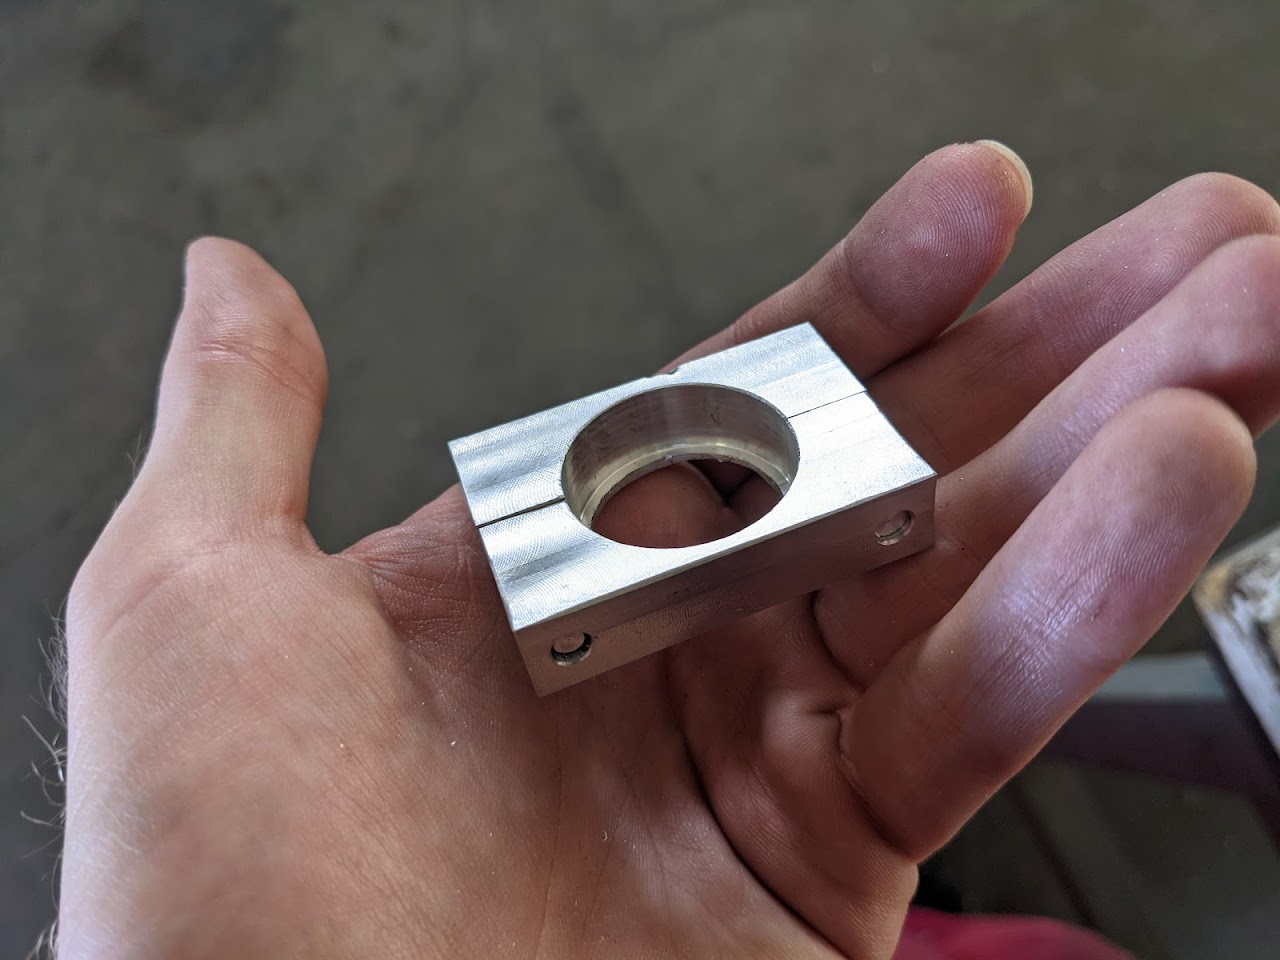
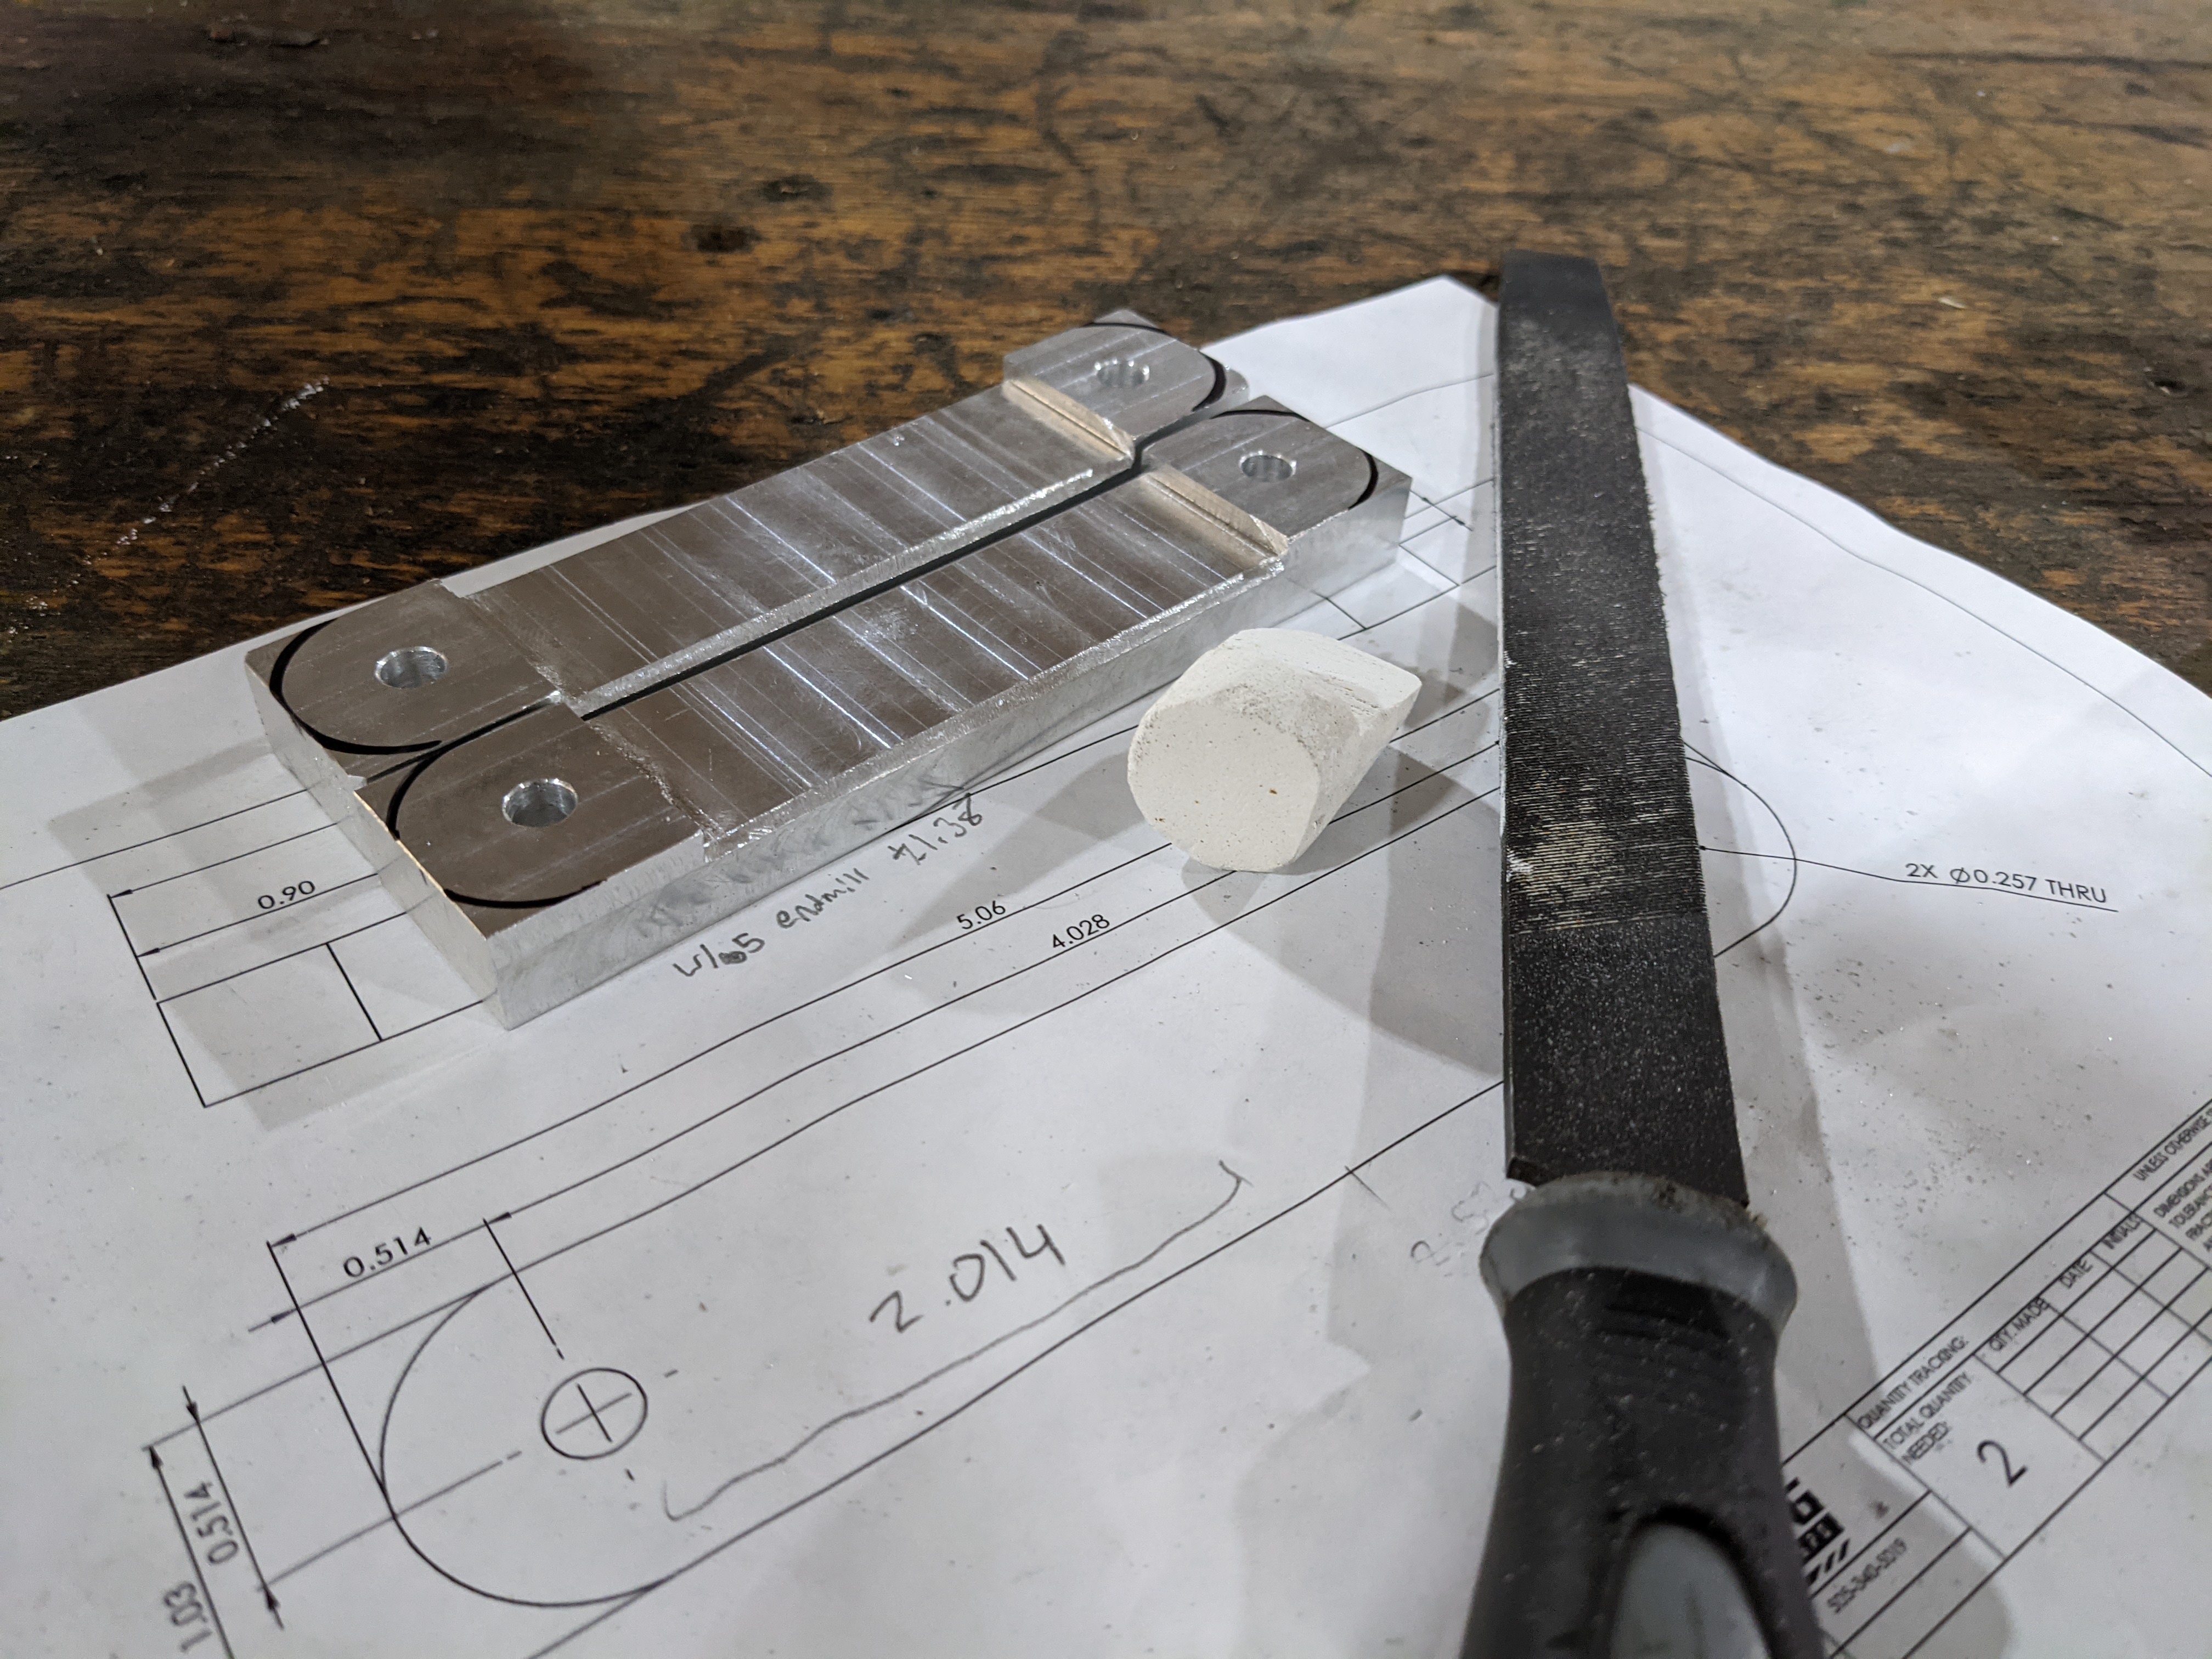
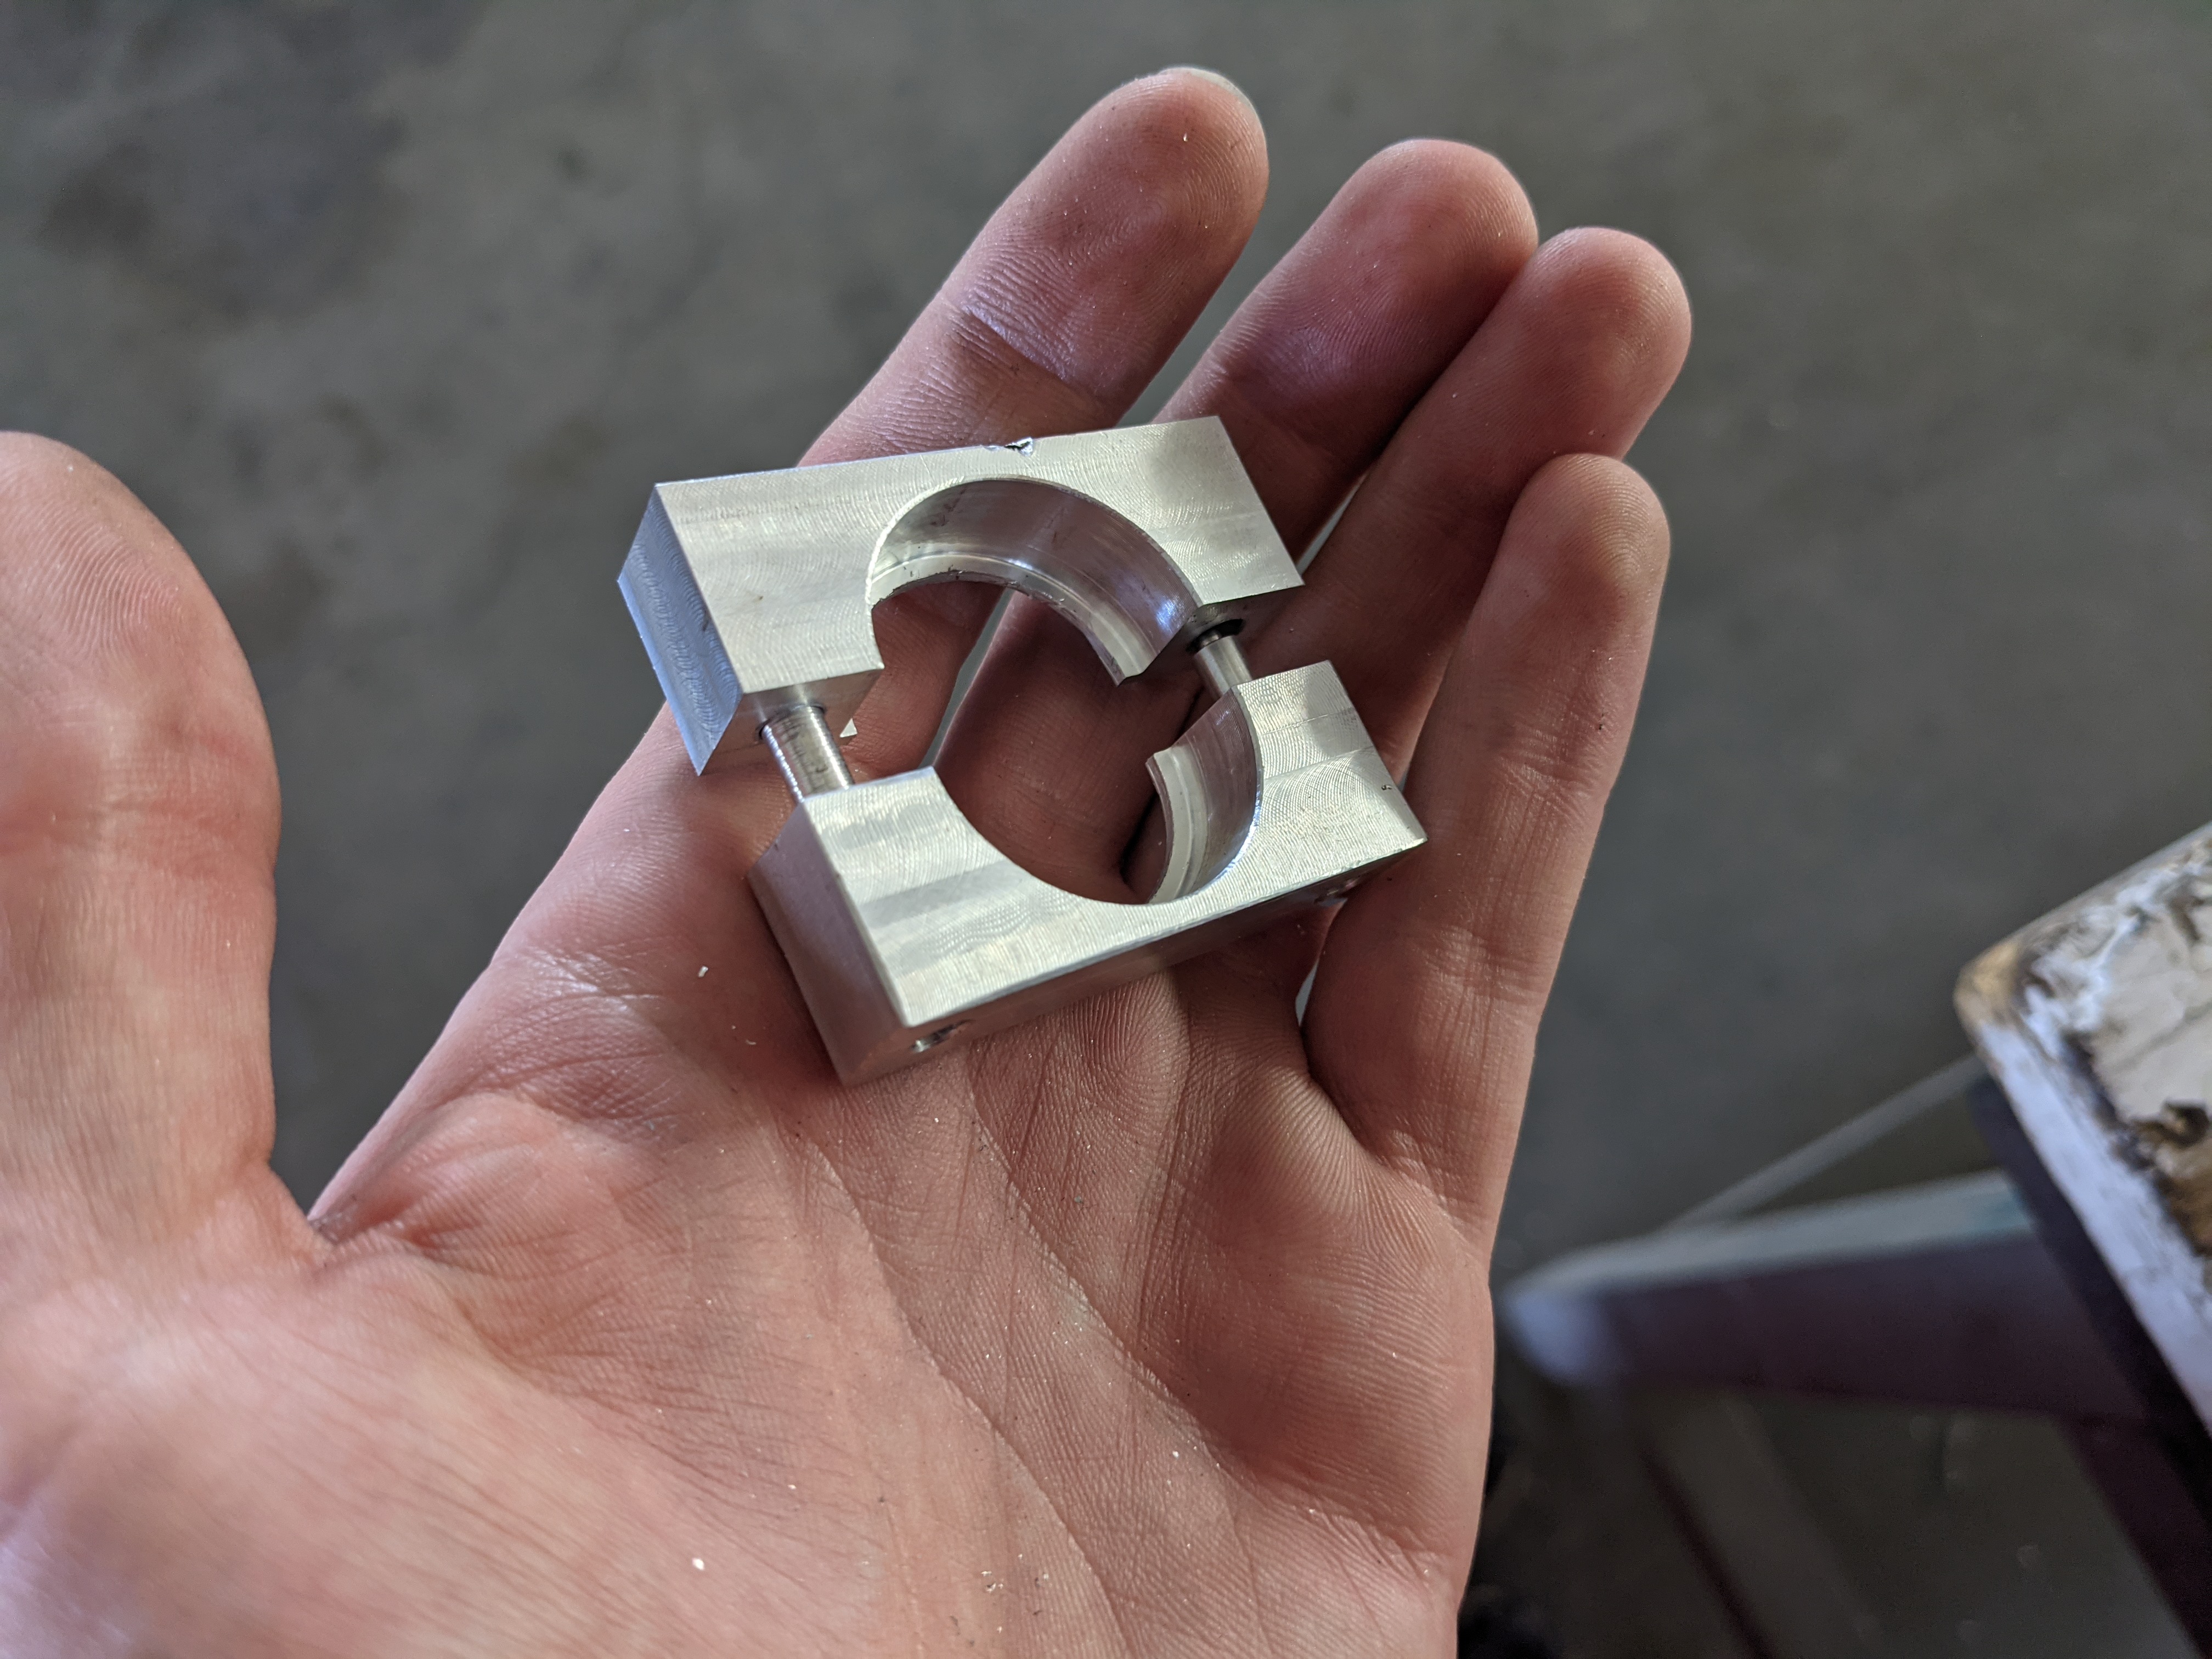
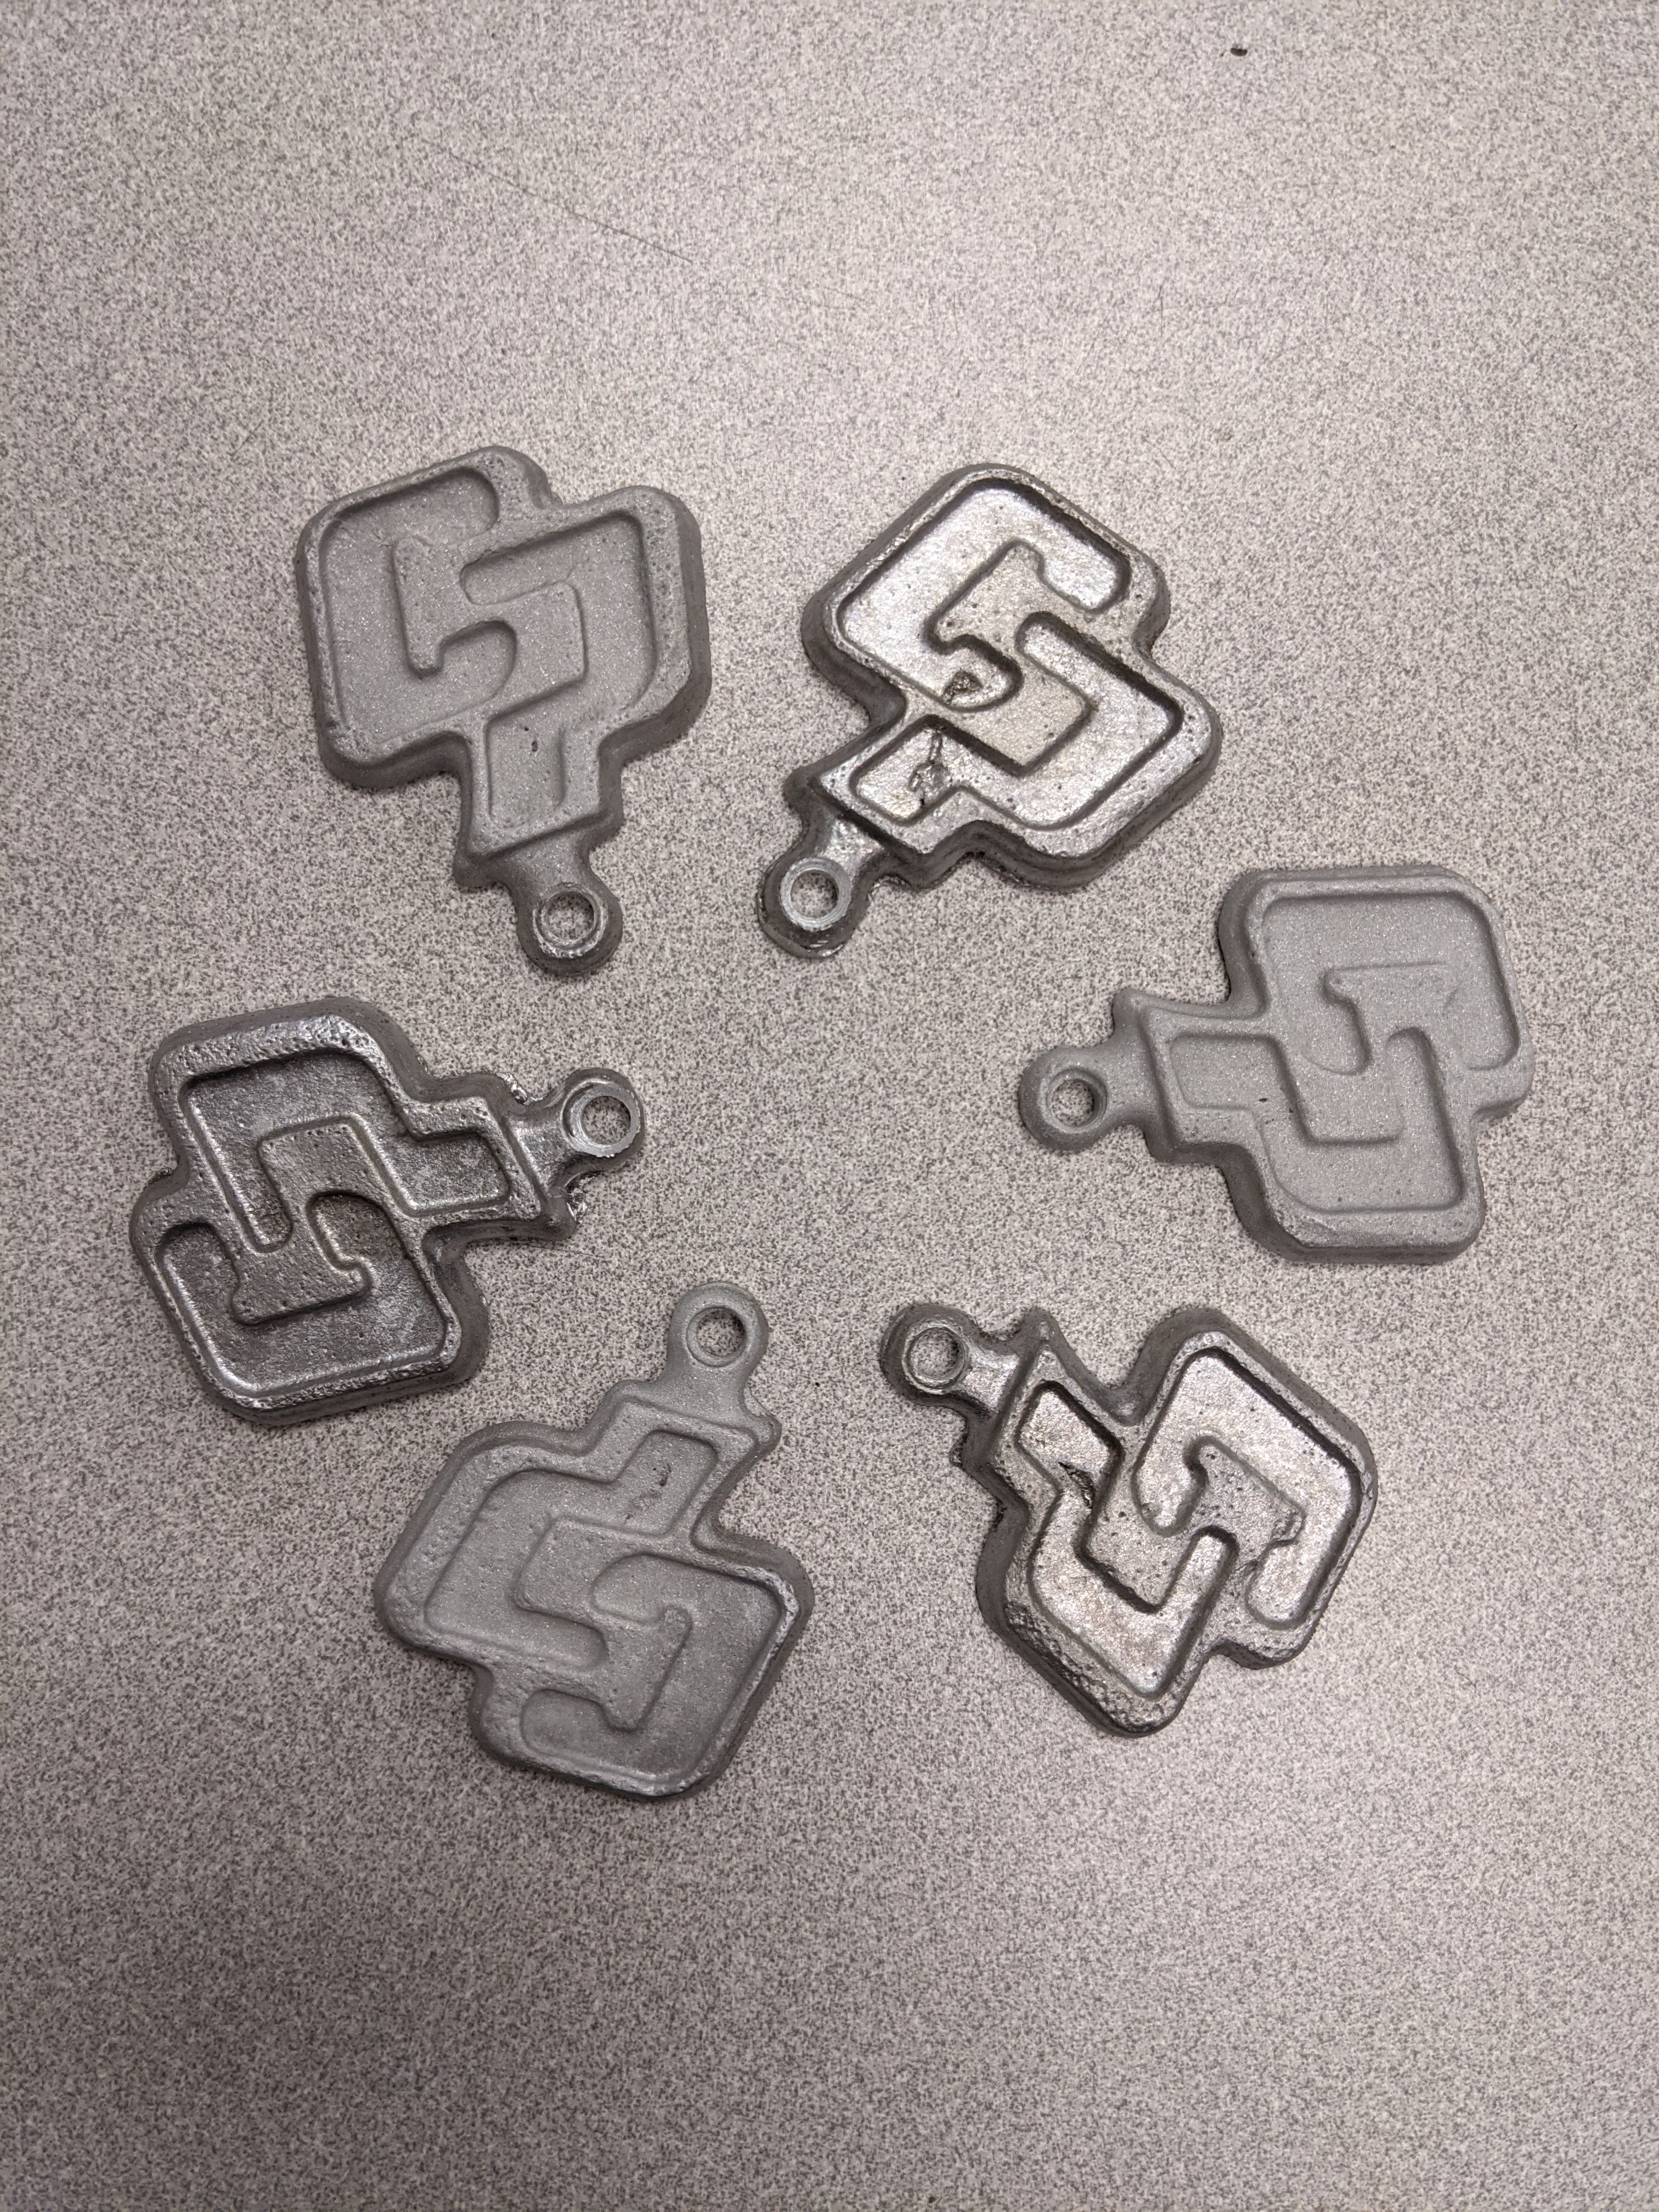
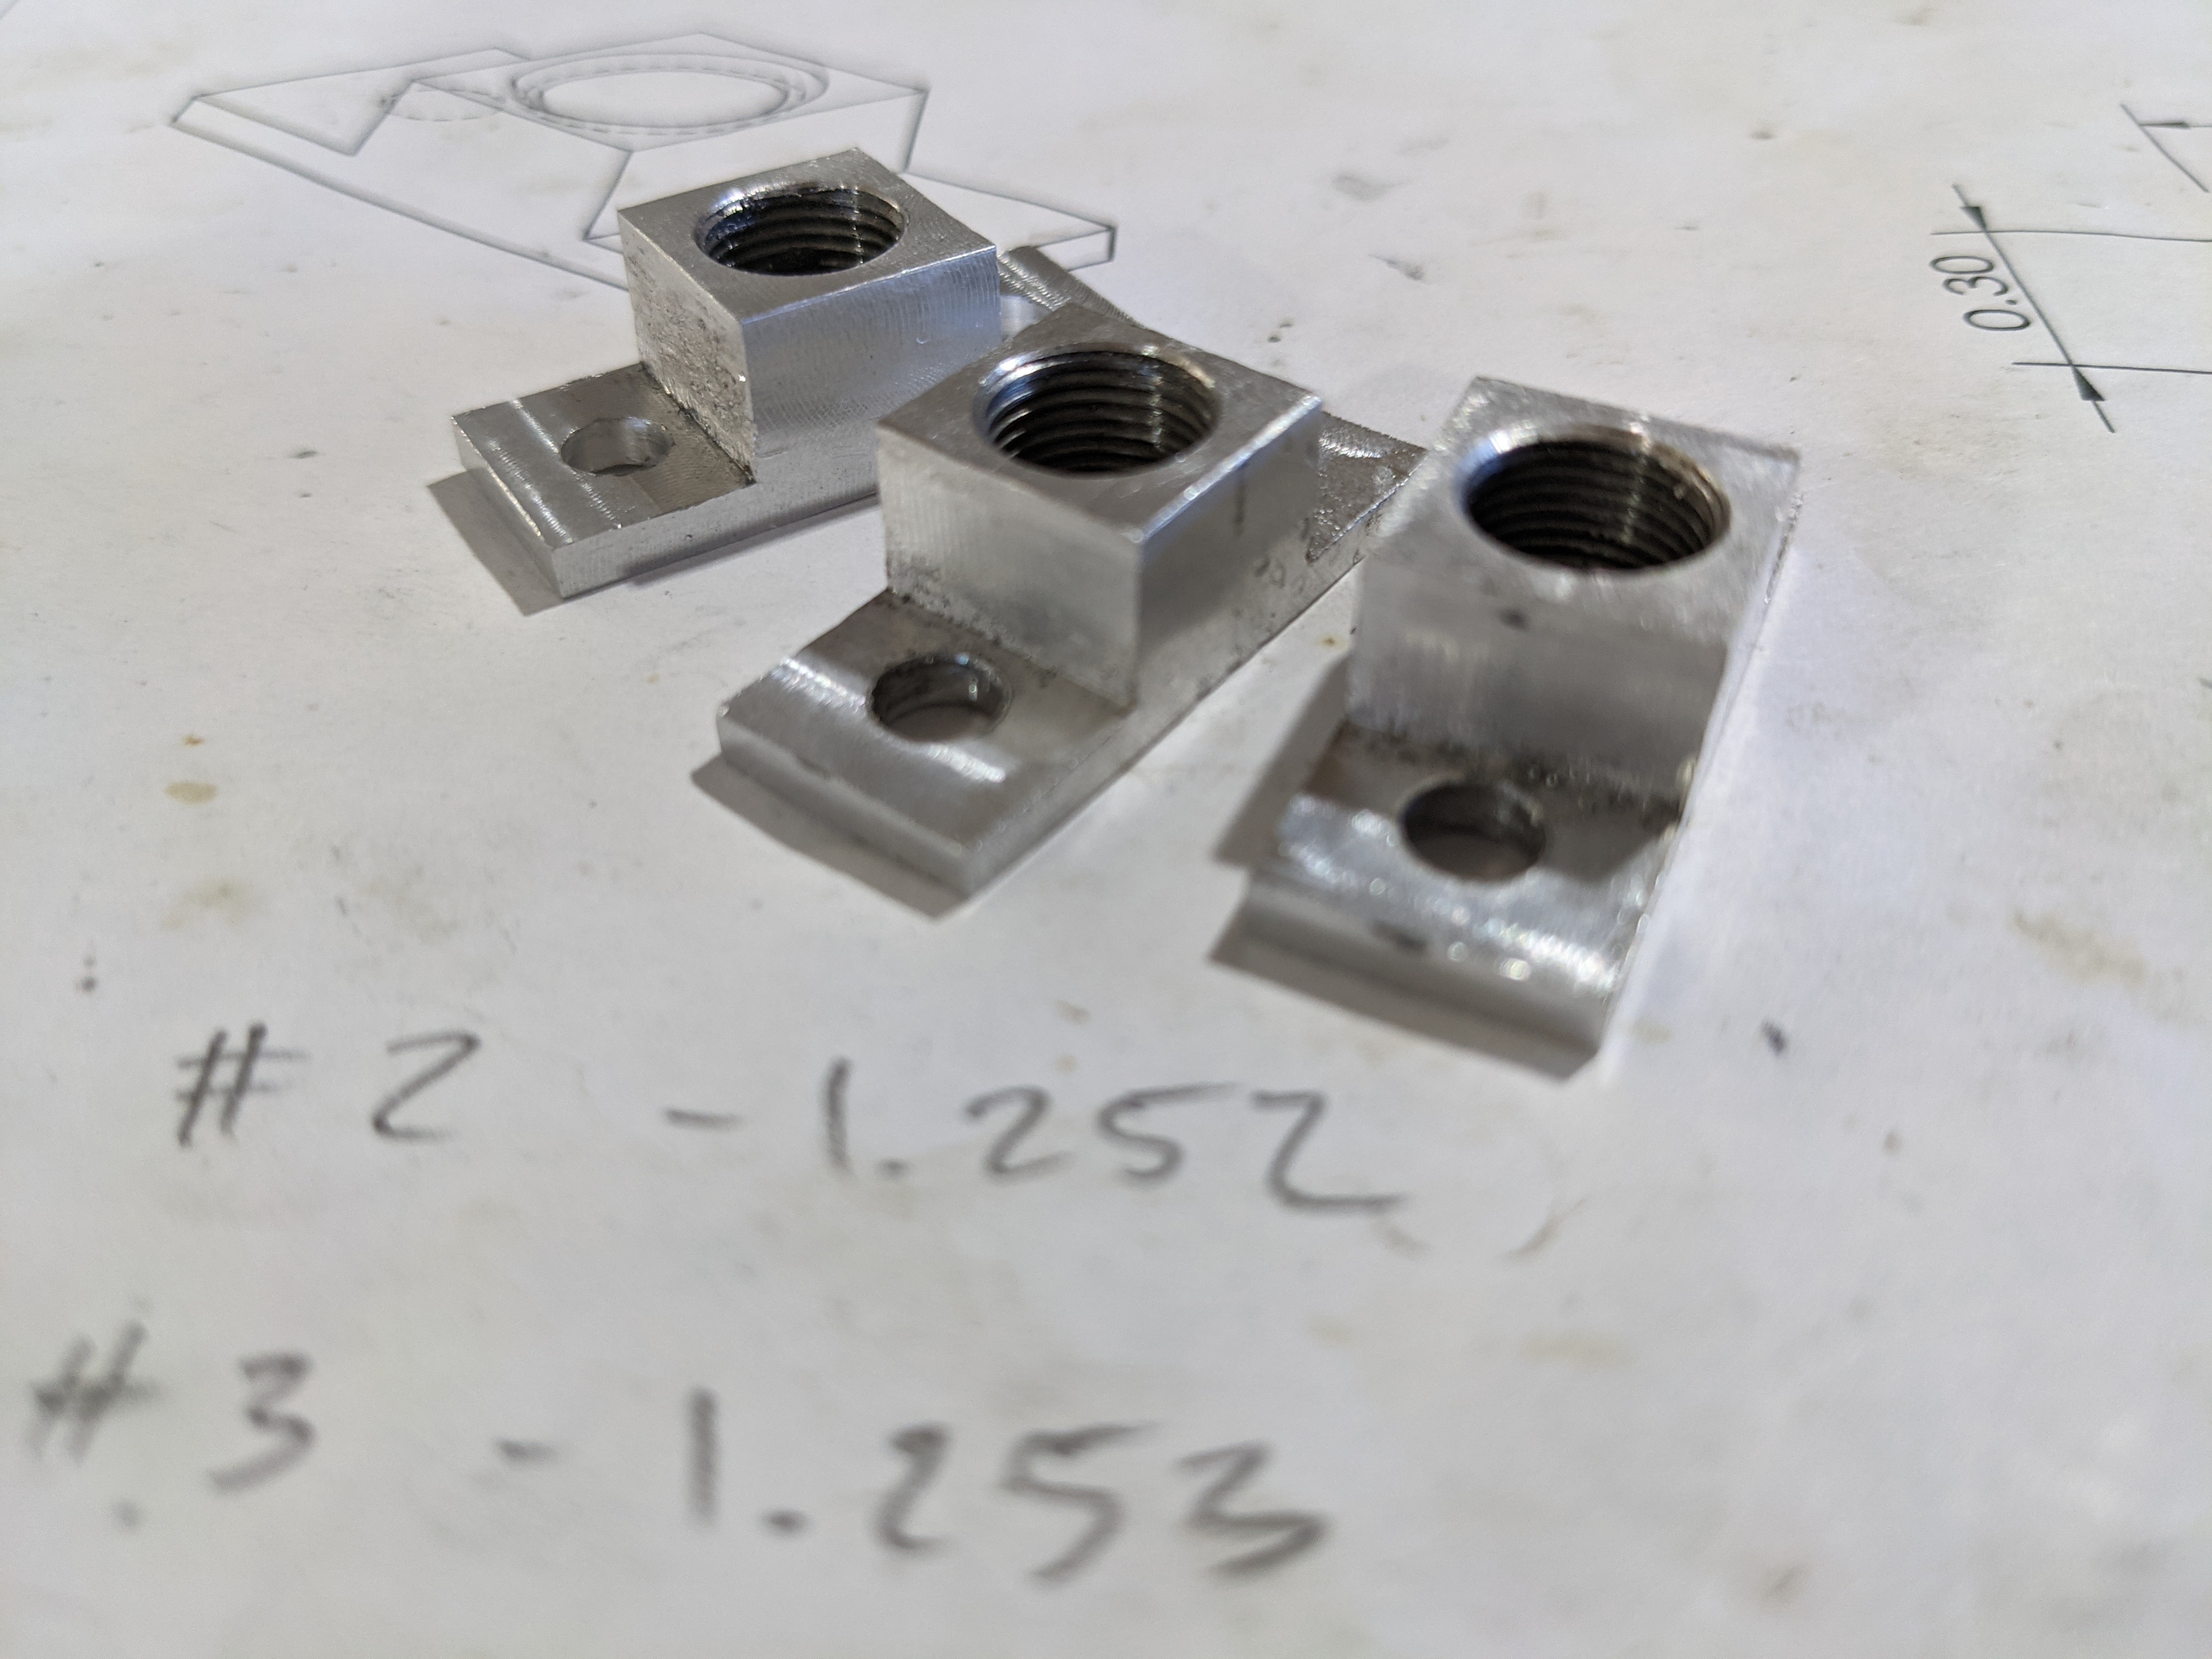
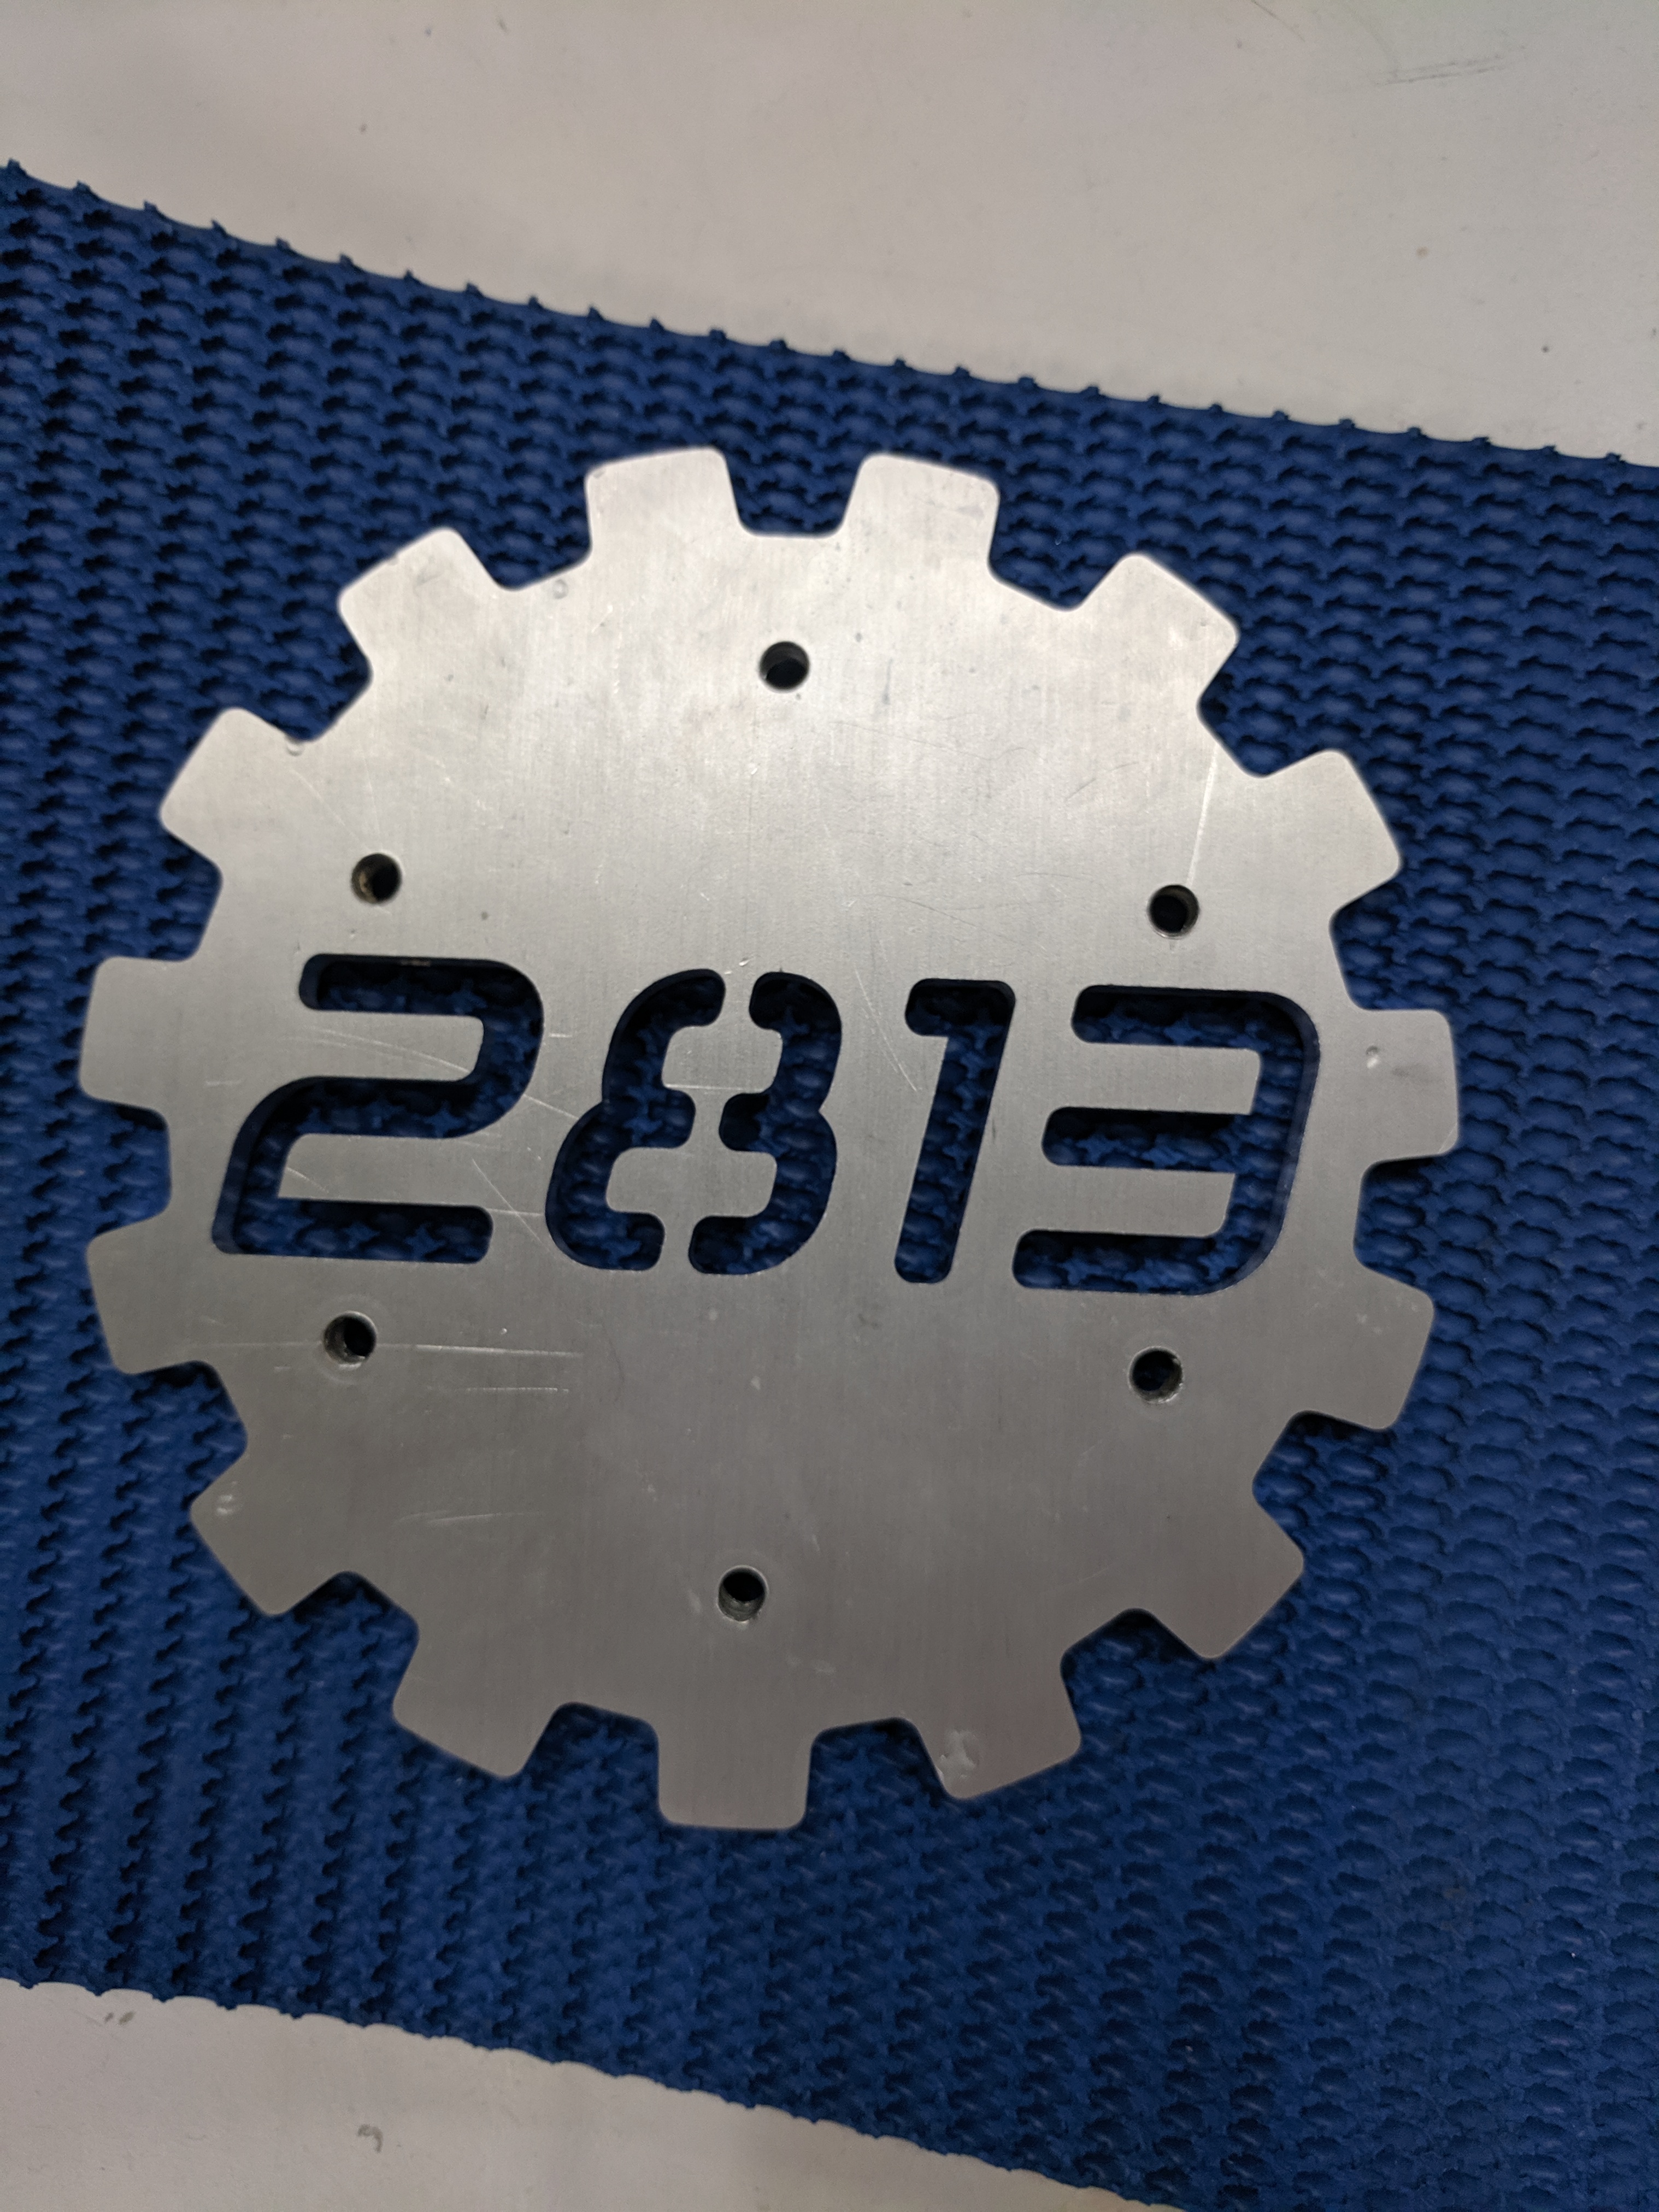
Machining Photos!

Would you like emails about new projects?
Get our latest news and content delivered directly to your inbox, maybe!
